Foolproof Crown Cake Recipe (Tested Method)

The first time I baked a crown cake, I flipped the bundt pan with total confidence and watched three of its six points snap clean off into the pan. My glossy, jewel-topped birthday cake looked more like a crown that had been in a fight. If you’re bracing for that same scary release moment, stay with me: the pan preparation makes the difference.
I ran three controlled tests with the same batter, bake time, and glaze, changing only the pan-release method. The most important variable was how the pan was coated; that choice separated crisp, defined points from rounded, broken ones. This isn’t a traditional Frankfurt crown cake, but it has the same celebration-ready spirit.
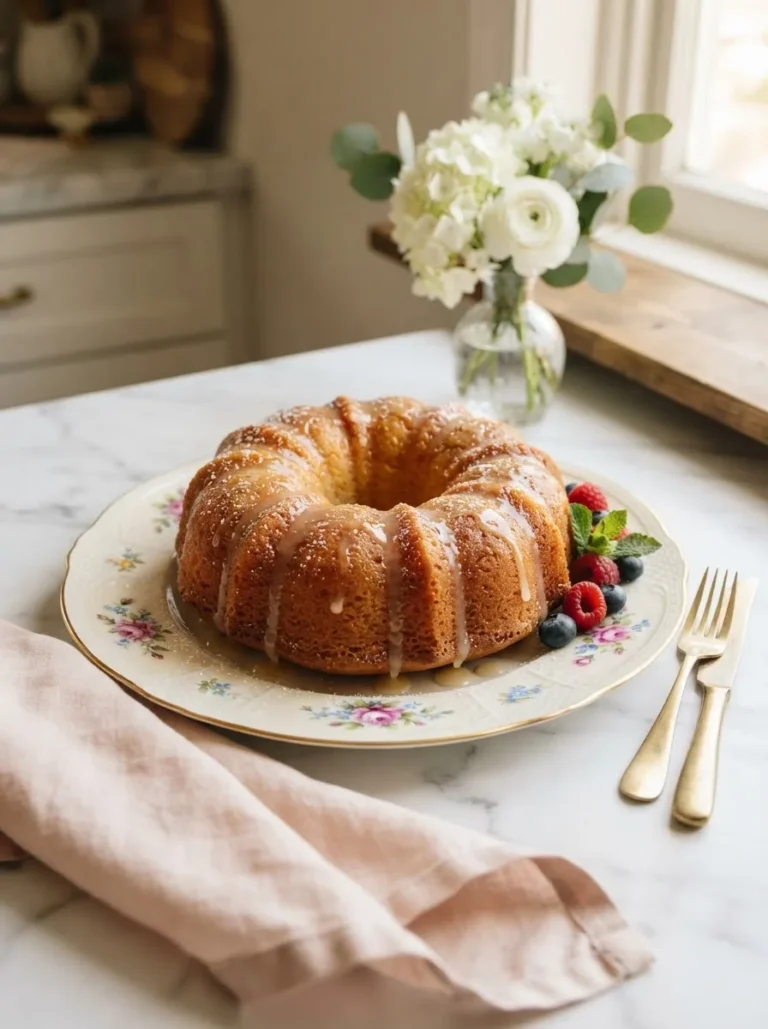
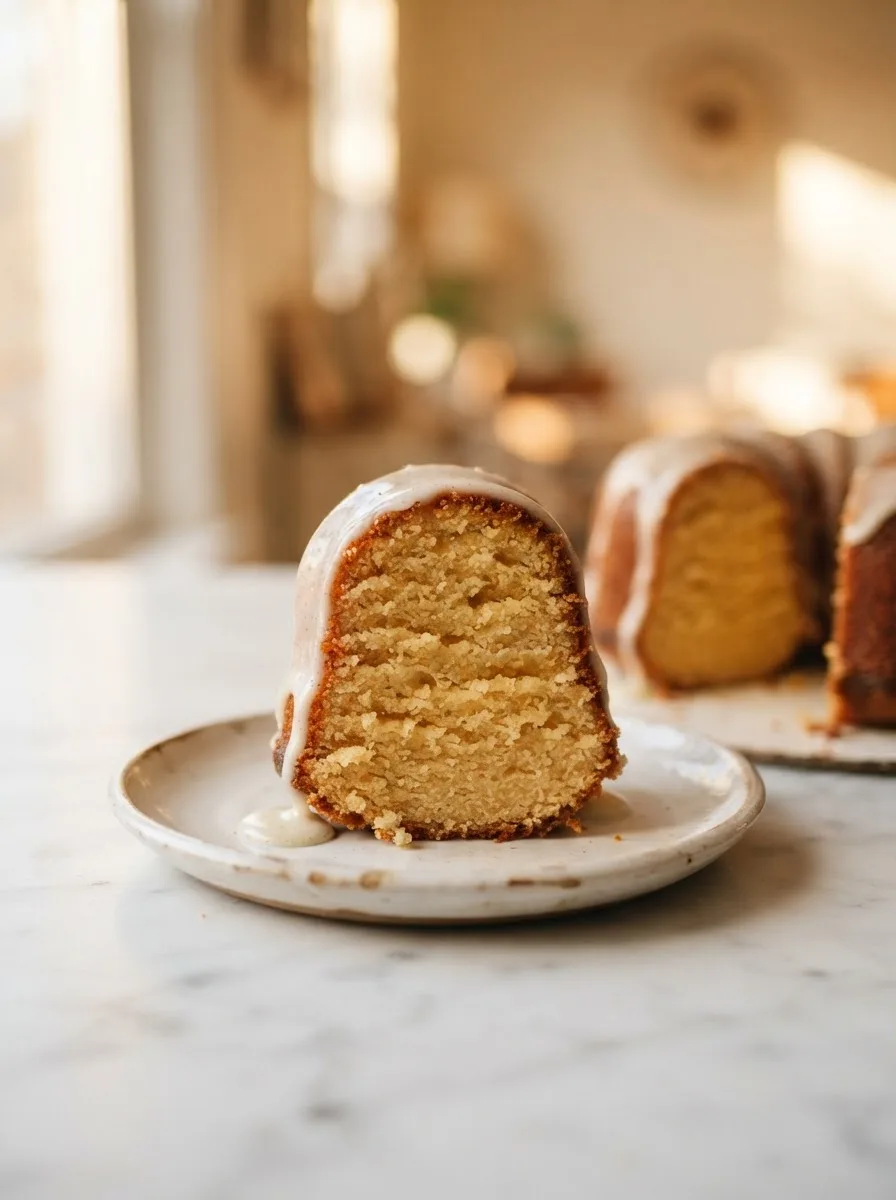
This crown cake recipe makes a brown butter and vanilla cake with a simple glaze and a little gold. Browning butter toasts its milk solids, creating the nutty flavor that plain butter cannot provide. The trade-off is about ten extra minutes and one more bowl to wash. For me, that baking step earns its place every time.
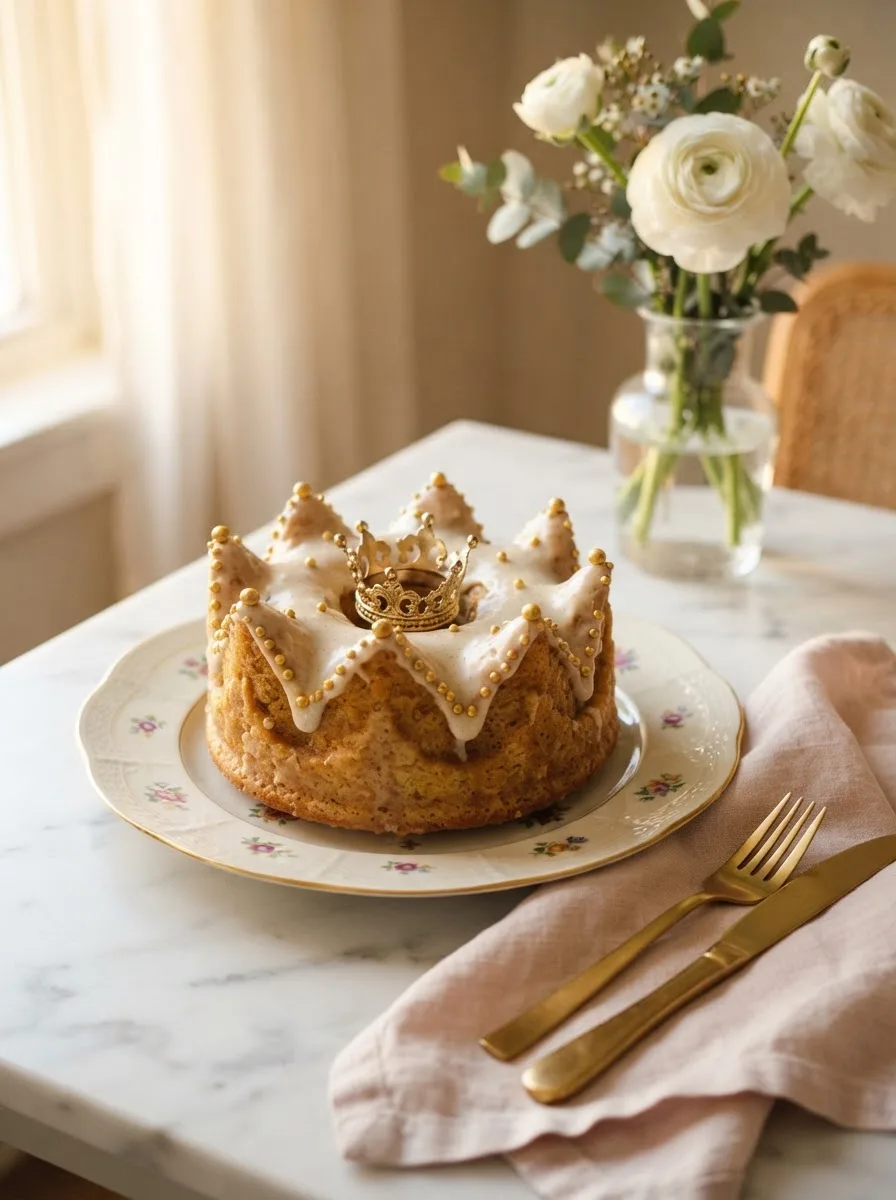
The toasted butter works especially well with the vanilla glaze, so the cake has flavor beneath the decoration. Let the finished cake cool fully before glazing; that keeps the icing thick enough to cling to the points.
★★★★★ “I made this for my daughter’s ‘Queen for a Day’ birthday and the points came out so sharp everyone assumed I’d bought a mold from a specialty shop. This is going into permanent rotation.” — Marisol T., recipe tester (pre-launch)
Why You’ll Love This Crown Cake
- The points hold their shape: the pan-release method helps the crown cake come out with defined edges instead of torn points.
- Brown butter adds depth: toasted milk solids give the crumb a nutty flavor that balances the vanilla glaze.
- One cake pan, no stacked layers: you get a finished cake without leveling, filling, or assembling separate layers. It needs more than one bowl, but no buttercream or complicated decorating.
- Easy to dress up: gold dragées and a crown topper make it suitable for birthdays, graduations, or a small top cake display. It is not a traditional Frankfurt crown, but it brings the same celebratory feeling to the table.
Key Ingredients
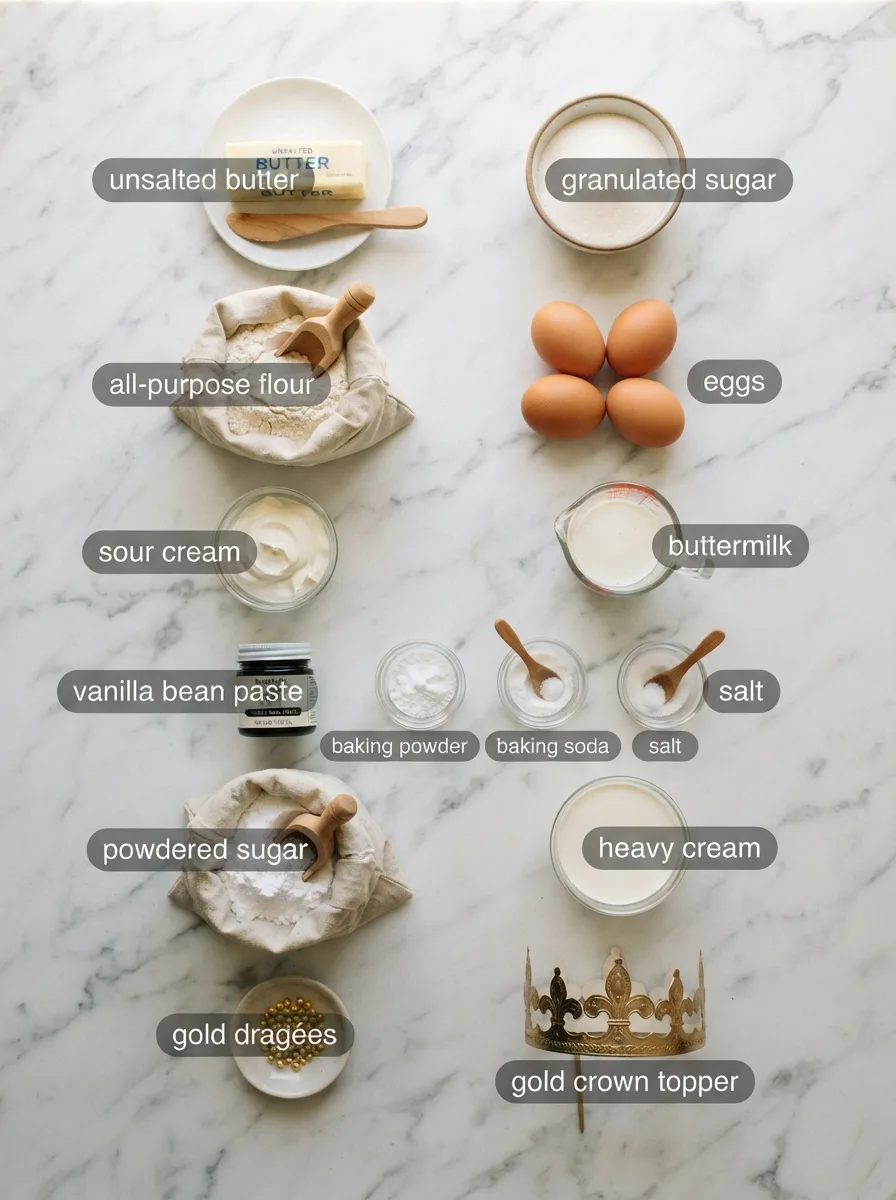
Unsalted butter (1 cup / 226g), browned. This is the flavor foundation. Browning it cooks off the water content and toUnsalted butter (1 cup / 226g), browned. Brown the butter until its milk solids turn golden and smell nutty. The heat drives off some water and toasts those solids, giving the cake a deeper flavor than plain melted butter. Cool it to just warm before mixing; hot butter can partially coagulate the eggs and leave a lumpy batter.
Sour cream (1 cup / 240g). Its fat tenderizes the crumb, while its acidity helps limit gluten development. That matters in the thin points, where a dry edge can finish baking before the center. Stir it smooth before adding it to the bowl.
Buttermilk (½ cup / 120ml). The acidity reacts with the baking soda for lift, while baking powder supplies additional rise. Together, they help create a light, fluffy crumb. Let the milk-based ingredients come to room temperature so the batter emulsifies evenly.
Vanilla bean paste (1 tablespoon). The paste adds vanilla flavor and visible flecks to the glaze. Vanilla extract is also included as a flavor option in the finished recipe, but do not use both at full amounts.
Eggs (4 large, room temperature). Warm eggs blend more smoothly with browned butter, sugar, flour, and cream. Set them out for 30 minutes before baking so the mixture stays cohesive instead of curdling.
Ingredient Note: This cake uses no pudding mix or buttercream. Its tender texture comes from browned butter, sour cream, buttermilk, eggs, and the balanced flour, sugar, baking powder, baking soda, and salt mixture. Let the browned butter cool before combining it with the eggs; I skipped that pause once and had to start over.
Equipment You’ll Need
- Crown-shaped bundt pan (10-cup) — a standard fluted bundt pan can hold the same batter, but the cake will have rounded ridges rather than crown points. Confirm the capacity before baking.
- Small saucepan — use a light-colored pan so you can see the butter change from foamy to golden brown.
- Stand mixer or hand mixer — either works, though a sturdy whisk is enough for this batter.
- Pastry brush — use it to grease the bundt pan in every narrow groove and point.
- Wire cooling rack — set over a sheet pan to catch glaze drips.
- Crown cake topper — choose a reusable gold topper, food-safe pick, or fondant crown for the center.
Controlling the Pan Release
I tested three pan-release methods with the same cake batter, baking temperature, bake time, and glaze. The goal was simple: see which coating protected the six points during the flip. Keep the baking powder and every other ingredient unchanged, and set aside the finished comparison before choosing your method.
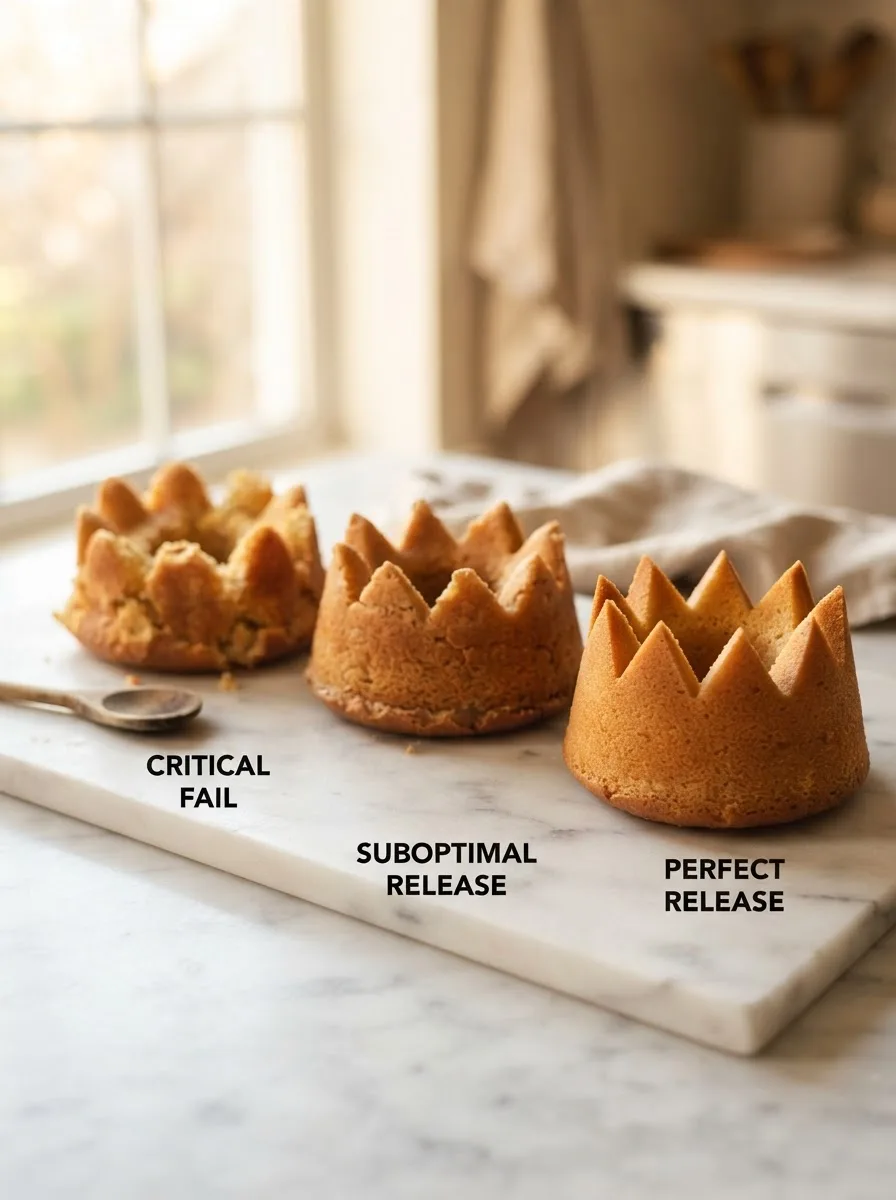
Baking spray only: three of the six points stuck to the pan and tore on release. Fast, but not reliable for a pan with Baking spray only: three of the six crown points stuck and tore during release. It saved minutes, but the thin coating did not cover every groove.
Softened butter and flour “paint”: five points released with good definition, but the butter re-solidified in several narrow spaces before coating was complete.
Homemade pan release (“cake goop”): use equal parts shortening, vegetable oil, and flour. The fats reduce adhesion, while the flour particles form a dry barrier against the metal. All six points released cleanly in this test, so this is the coating used for the crown cake below. It also works for a Frankfurt crown cake, though this recipe is not a traditional Frankfurt crown.
How to Make Crown Cake
Before you start: let the eggs, sour cream, and buttermilk sit at room temperature for 30 minutes, then heat the oven to 350°F (177°C). Evenly tempered ingredients blend into a more stable batter, so the cake bakes with a light, fluffy crumb instead of uneven pockets. A conventional oven is assumed; if using convection, reduce the temperature to 325°F (163°C) and begin checking the cake 5 minutes early.
Step 1 — Brown the butter
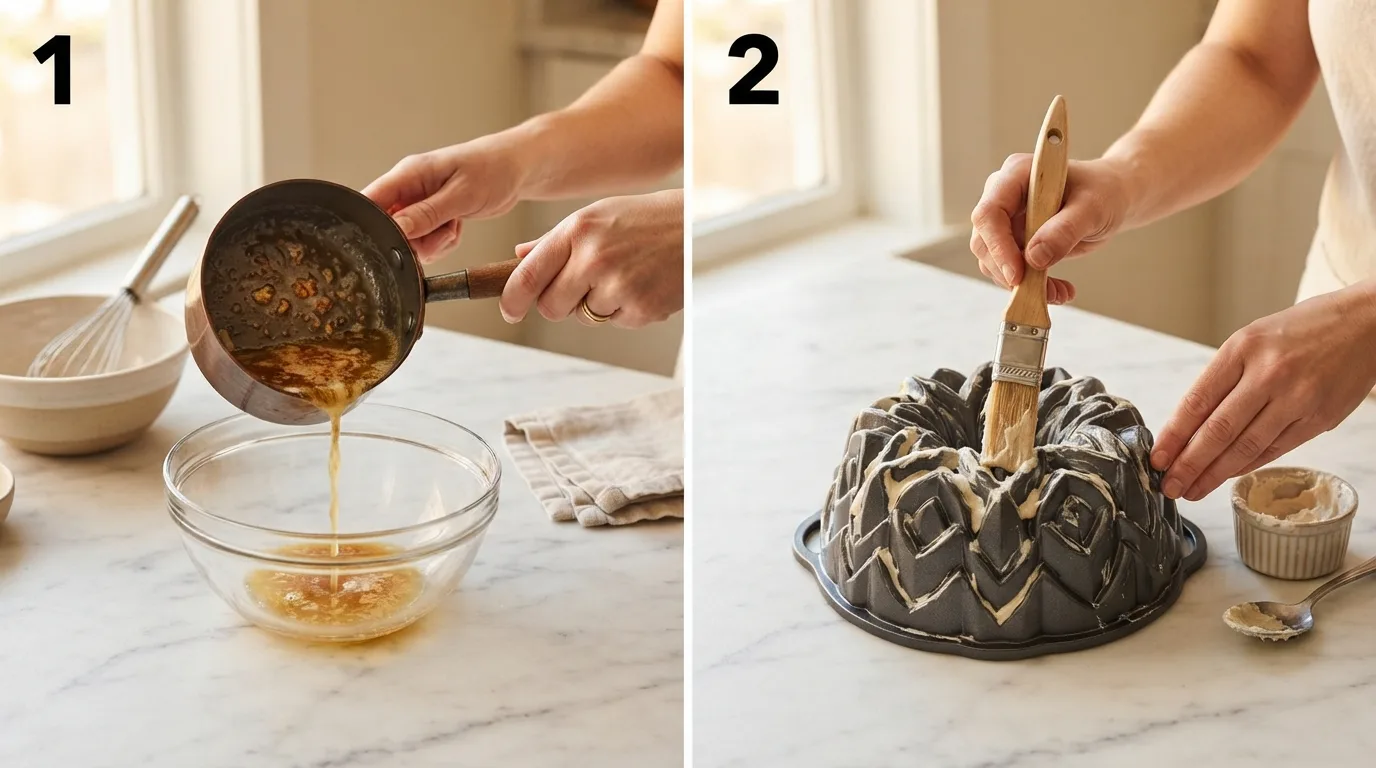
Melt 1 cup (226g) unsalted butter in a light-colored saucepan over medium heat. Swirl it every 30 seconds as it foams, turns clear gold, and develops brown flecks. Cook for 5 to 7 minutes, then remove it as soon as the milk solids smell toasted. Browning drives off some water and concentrates the toasted milk solids, which gives this cake its nutty flavor. Pour the butter into a heatproof bowl and cool for 15 minutes; it should feel warm, not hot.
Step 2 — Prepare the crown pan
Stir equal parts shortening, vegetable oil, and flour into a smooth paste; use 1 tablespoon of each for one 10-cup bundt pan. With a pastry brush, grease the pan from the center tube outward, pressing the bristles into every groove and point. The fat reduces sticking, while the flour leaves a thin barrier between the cake and metal. Set the prepared pan aside.
Step 3 — Whisk the dry ingredients
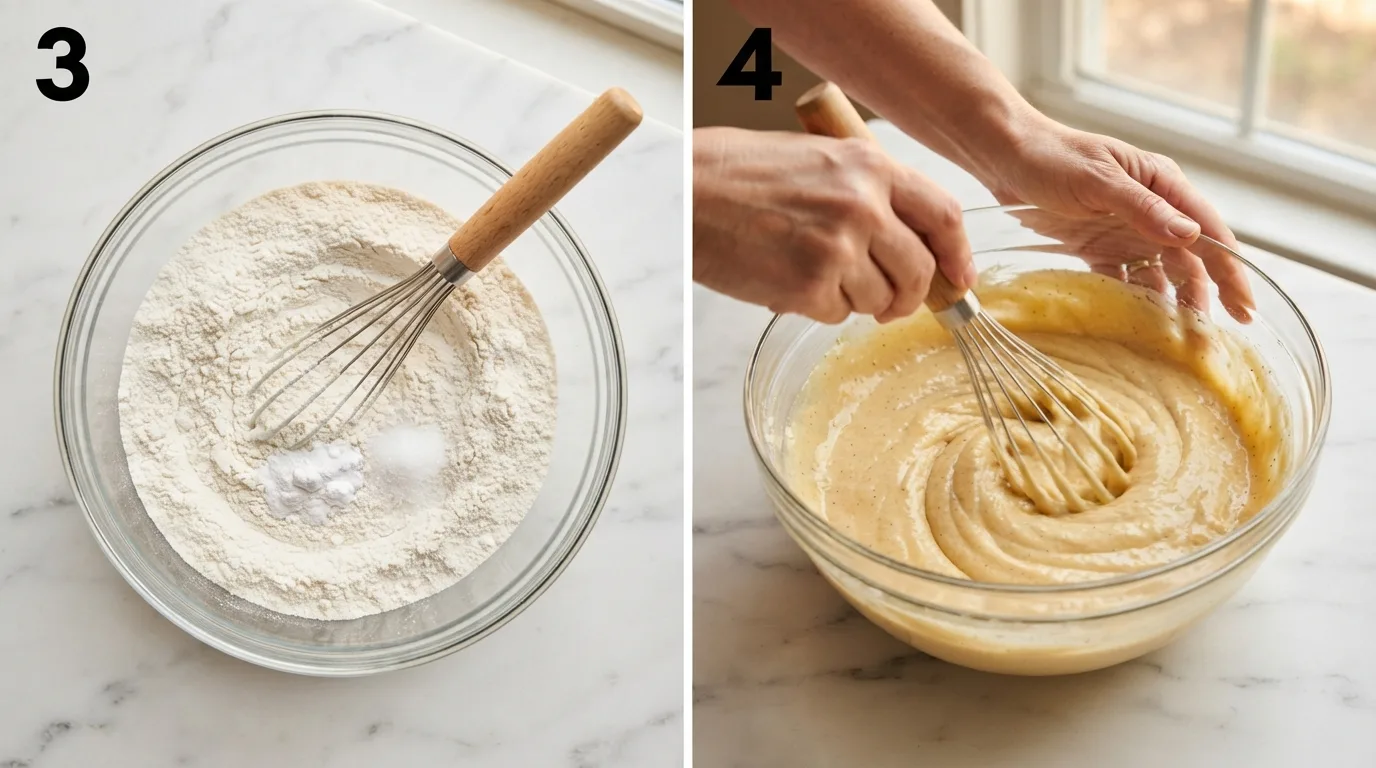
In a medium bowl, whisk 3 cups (360g) all-purpose flour, 2 teaspoons baking powder, ½ teaspoon baking soda, and 1 teaspoon salt for 30 seconds. Set aside. This distributes the leaveners through the flour so the cake rises evenly instead of leaving a concentrated pocket of powder in one slice.
Step 4 — Combine the wet ingredients
In a large bowl, whisk the cooled brown butter with 2 cups (400g) sugar for 1 minute. Add 4 room-temperature eggs, one at a time, whisking for 20 seconds after each addition. Whisk in 1 tablespoon vanilla bean paste. The mixture may look slightly grainy, but it should be cohesive; dark vanilla flecks are expected.
Step 5 — Combine wet and dry
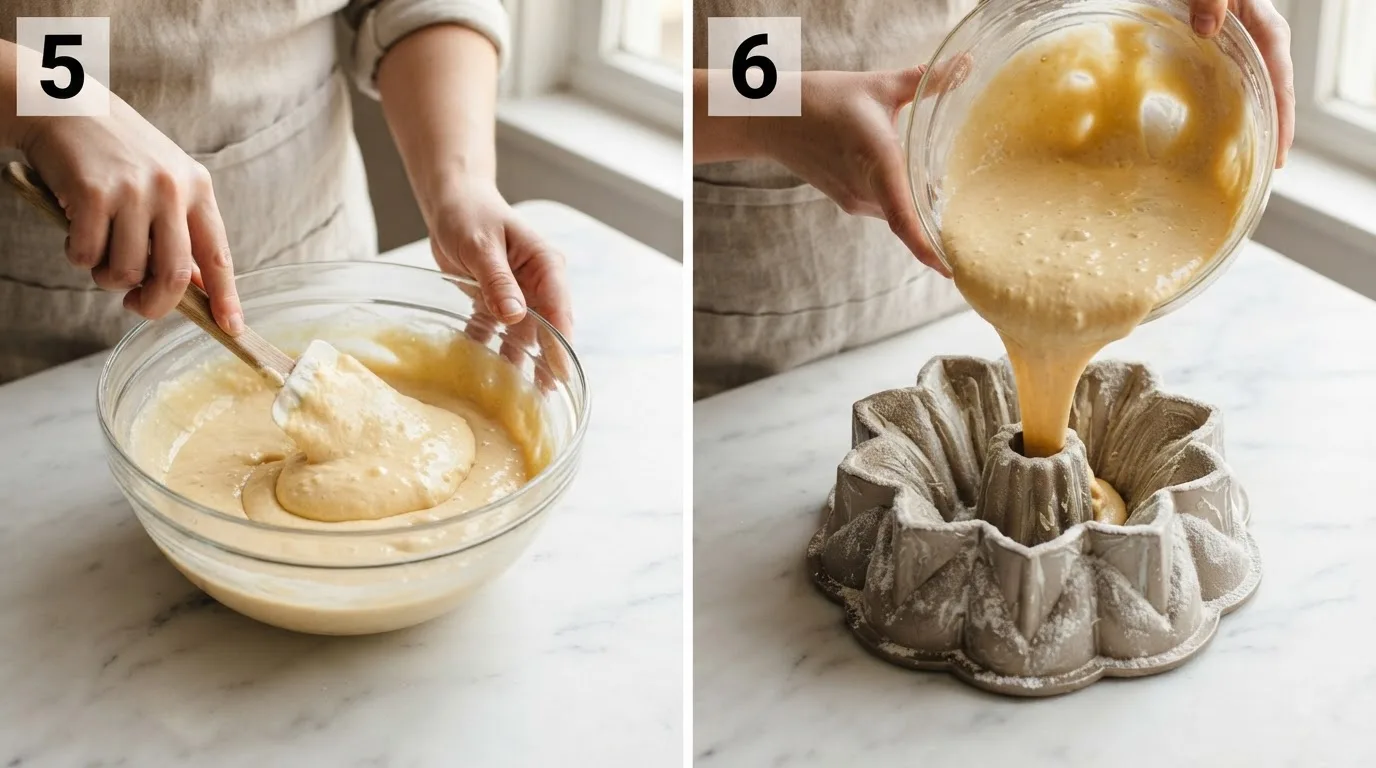
Add the flour mixture in three additions, alternating with 1 cup (240g) sour cream and ½ cup (120ml) buttermilk. Begin and end with flour. Stir only until no dry streaks remain. Alternating the ingredients limits gluten development, keeping the batter tender rather than dense. Do not continue mixing once the batter is thick, pale gold, and barely pourable.
Step 6 — Pour and bake
Transfer the batter to the prepared crown pan and smooth the surface. Tap the pan twice on a folded kitchen towel to release large air pockets without damaging the coating. Bake at 350°F (177°C) for 50 to 55 minutes. The cake is ready when a toothpick inserted into the thickest section comes out with a few moist crumbs, not wet batter, and the top springs back lightly.
Step 7 — Cool and release
Let the cake cool in the pan for exactly 15 minutes. This is the moment that makes people nervous: the cake feels delicate, but a prepared pan and timed release protect the points. Place a wire rack over the pan, hold both firmly, and flip them together in one motion. Lift the pan straight up. If one point resists, tap that area gently; do not twist or pry.
Step 8 — Glaze and crown it
Cool the cake completely for about 1 hour. Whisk 2 cups (240g) powdered sugar, 3 tablespoons heavy cream, 1 teaspoon vanilla bean paste, and ⅛ teaspoon salt into a glaze. It should fall from a spoon in a slow ribbon; add 1 tablespoon powdered sugar if it runs too quickly. Pour one thin coat over the top and points, then press gold dragées into the wet glaze. Let it set for 20 minutes before adding the crown topper.
Pro Tips for Perfect Crown Cake
Tip 1: Keep the dairy and eggs at room temperature. Sour cream, buttermilk, and eggs blend more smoothly with warm brown butter, which helps the batter bake evenly instead of separating. This cake needs no buttercream, pudding, or jam filling.
Tip 2: Weigh the flour. Scooping flour directly from the bag can add extra weight and make the crown cake dry, especially at the thin points. A scale gives you a more consistent cake and a tender crumb.
Tip 3: Let the glaze set before decorating. The single thin coat used in the recipe should rest for 20 minutes before you add the topper. It will cling better to the points and keep the sugar decorations from sliding. Vanilla extract gives the same flavor direction if you do not have vanilla bean paste.
This is a decorated cake, not a layered cake: there is no filling to level and no buttercream to smooth. If you want a fruit accent, serve thin slices with cherry preserves or a spoonful of jam on the side rather than changing the batter.
Variations and Substitutions
[Image 8 pending — upload manually]
Dietary Variations:
- Gluten-free: replace the all-purpose flour with a 1:1 gluten-free baking blend that contains xanthan gum. Expect a slightly denser crumb, while the points should still hold their shape.
- Dairy-free: use plant-based butter and full-fat coconut cream. Plant-based butter can brown faster, and coconut cream changes the flavor slightly, so test the batter before serving it for an event.
Flavor Variations:
- Crown Royal glaze: for adults, replace 2 tablespoons of the heavy cream with Crown Royal whiskey. Because it is added after baking, alcohol may remain in the glaze.
- Princess crown cake: tint the glaze pale pink or lavender and use pastel sanding sugar instead of gold dragées. Fresh cherries can add color beside each serving, but keep them off the glaze until serving.
Ingredient and Pan Substitutions:
- A standard fluted bundt pan holds the same batter and uses the same bake time, but the cake will have scalloped ridges instead of crown points. It is not a traditional Frankfurt crown cake.
- For a mini crown wedding cake topper, use a 6-cup mini crown pan and begin checking it after 30 minutes. Place the cooled mini cake on top of a larger tier only after its glaze has set.
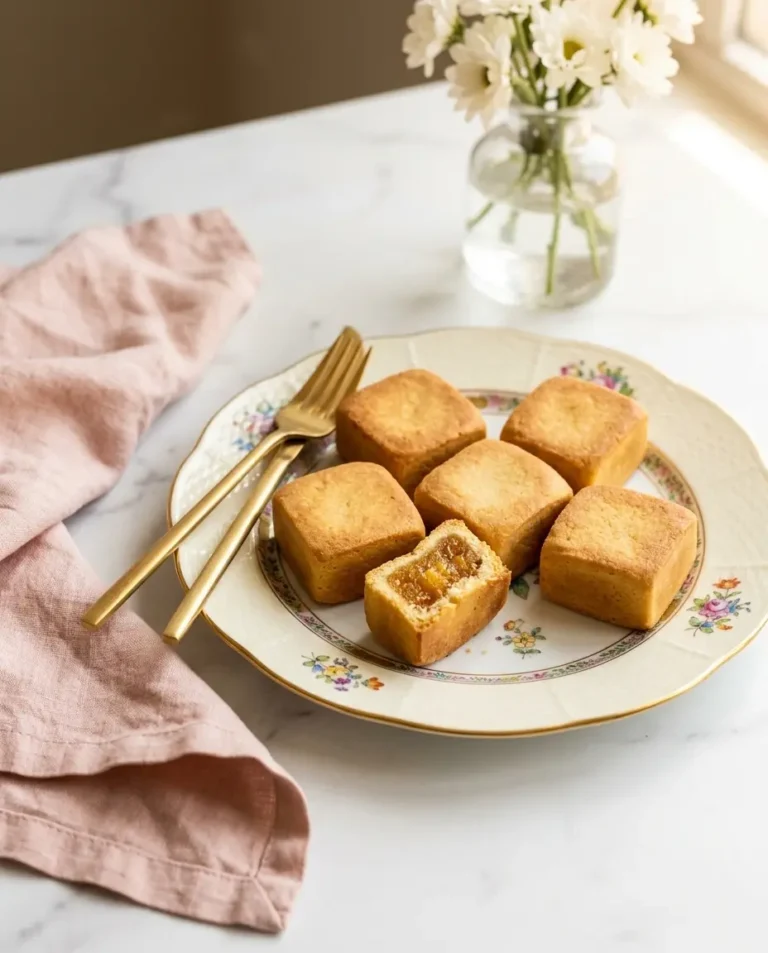
If you want another special-occasion cake with a one-pan approach, my chinese pineapple cake takes a different route with pineapple flavor and a tender crumb.
Troubleshooting
Why did my crown cake stick to the pan and lose its points?
The pan release may not have reached every groove, or the cake may have cooled too long before the flip. Use the flour-and-fat coating, then release the cake after exactly 15 minutes. If one point stays behind, tap the pan gently instead of pulling on the cake.
Why did my cake sink in the middle after baking?
The cake was likely removed before its structure set, or the oven door was opened too early. Bake for the full 50 to 55 minutes and test the thickest section with a toothpick. A few moist crumbs are fine; wet batter means it needs more time. Measure the flour accurately, since excess flour can make the crumb dry while too little can weaken the center.
Why is my glaze sliding off the points?
The cake may still be warm, or the glaze may be too thin. Cool the cake for a full hour, then check that the glaze falls from the spoon in a slow ribbon. Whisk in 1 tablespoon powdered sugar if needed. This cake needs no pudding, cornstarch, or buttercream to hold its decoration.
Storage and Make-Ahead
Counter: Cover the glazed cake with a dome or foil and keep it at room temperature for up to 2 days. The glaze softens slightly, but the points remain intact.
Refrigerator: Store the cake in an airtight container for up to 5 days. Let it stand at room temperature before serving so the brown butter and vanilla flavors return.
Freeze unglazed: Once fully cooled, wrap the undecorated cake tightly in plastic wrap, then foil. Freeze it for up to 3 months. Do not cover plastic wrap over the glaze or decorations, because trapped condensation can dissolve the sugar.
Thawing: Unwrap the foil and plastic wrap while the cake is still cold, then thaw it overnight in the refrigerator. Bring it fully to room temperature before glazing; do not reheat it.
Make-ahead: Bake the cake up to 1 week before the event and freeze it unglazed. Thaw it the day before, then add the glaze and crown topper on the morning of serving. Keep fruit jam or cherries beside each slice rather than storing them on the decorated cake.
Frequently Asked Questions
Q: Is this crown cake the same as a Crown Royal cake? A: No. This recipe uses a crown-shaped pan and vanilla glaze. A Crown Royal cake includes that whiskey as a flavor, which you can add to the glaze for an adult version.
Q: Is this a Frankfurt crown cake or German crown cake? A: No. A Frankfurt crown cake, also called a German crown cake, traditionally has layers, buttercream, and a jam filling. This recipe is a single baked cake with a vanilla glaze, so the names should not be used interchangeably.
Q: Can I make crown cake without a crown-shaped bundt pan? A: Yes. Use a standard fluted pan with the same batter and bake time. The cake will have scalloped ridges instead of points. Check the pan capacity before you begin.
Q: How do I attach a crown cake topper? A: Wait about 20 minutes until the glaze sets, then place the topper in the center opening. If it is not food-safe, insert it into a straw first so it does not touch the crumb, cream, or glaze.
Q: Can I make a mini crown cake for a wedding? A: Yes. Bake the batter in a 6-cup mini pan and begin checking it at 30 minutes. Use the finished cake as a top layer on a larger tier only after it has cooled and the glaze has set.
Q: Can I make this recipe gluten-free or dairy-free? A: Yes. Use the measured swaps in Variations and Substitutions. Do not add extra flour, pudding powder, buttercream, or sugar without retesting the batter. Vanilla extract can replace vanilla bean paste according to the stated amount.
Q: Can I freeze crown cake, and what should I serve with it? A: Freeze it unglazed as described in Storage and Make-Ahead, then thaw it before decorating. For serving, offer a little jam or fresh cherries on the side; the cake does not need extra butter or cream.
More Cake Recipes You’ll Love
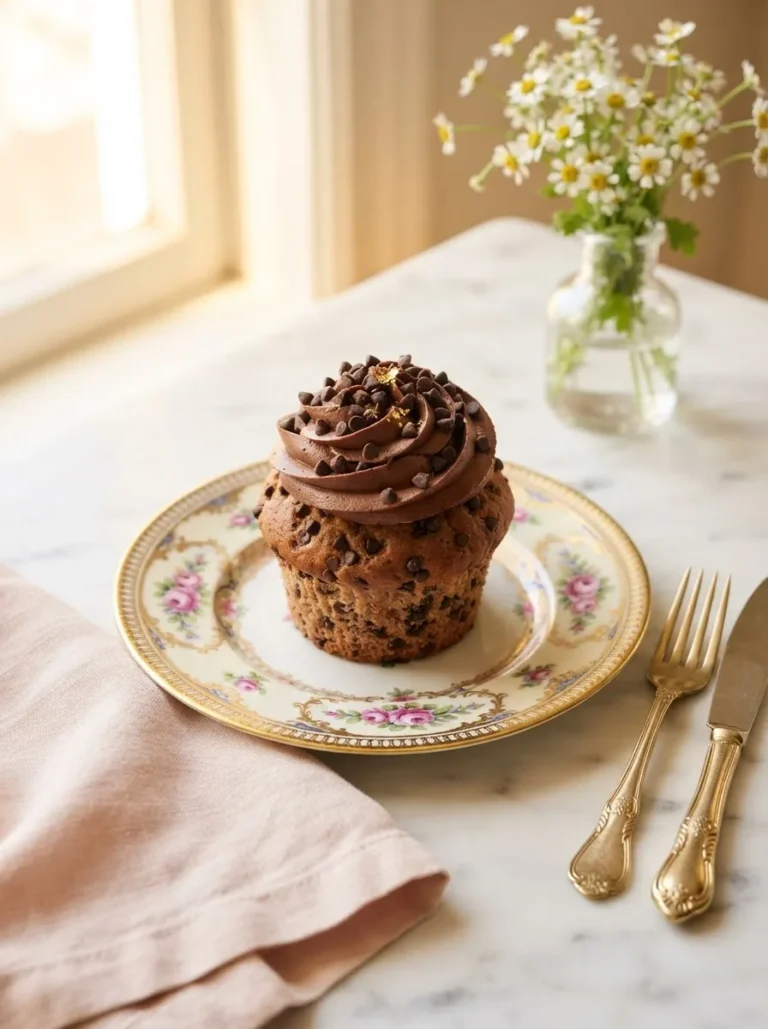
- Choco Chips Cup Cake — an easy chocolate chip cake.
- Chinese Pineapple Cake — a tender fruit cake with a different flavor.
- Gluten Free German Chocolate Cake — a gluten-free cake with coconut and pecans.
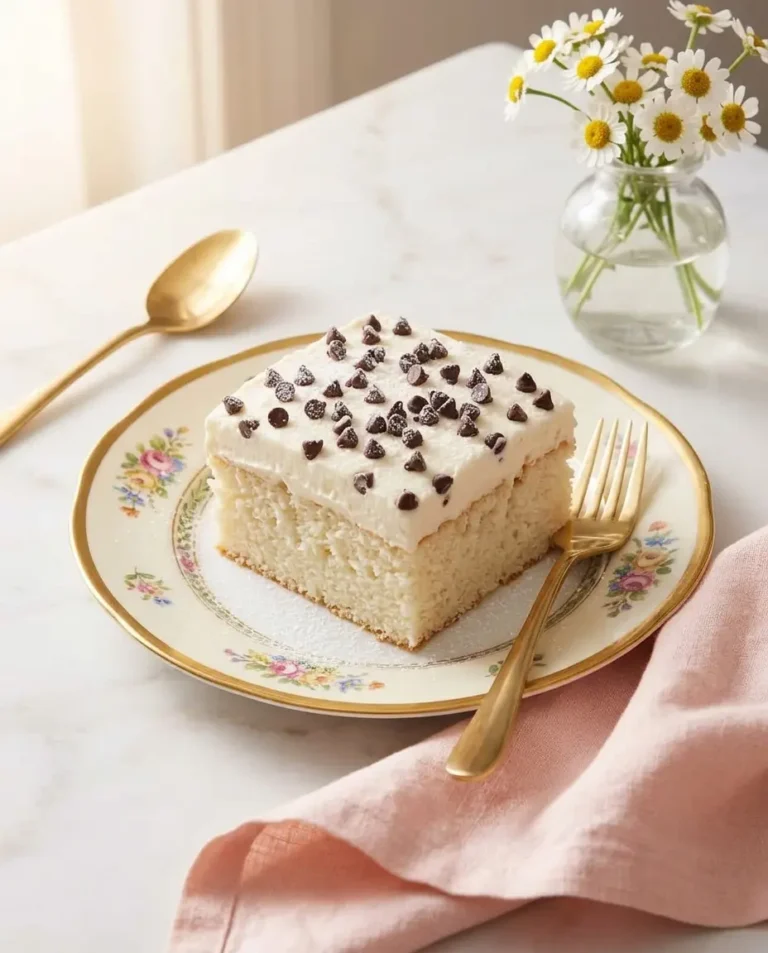
- Cannoli Poke Cake Recipe — a make-ahead dessert with cream filling. Try the crown cake pan-release method, then share your result.
Foolproof Crown Cake Recipe (Tested Method)
Ingredients
For the cake:
- 1 cup unsalted butter, browned and cooled to warm
- 21/2 cup all-purpose flour
- 11/2 cup granulated sugar
- 1 teaspoon baking powder
- 1/2 teaspoon baking soda
- 3/4 teaspoon salt
- 4 large eggs, room temperature
- 1 cup sour cream, room temperature
- 1/2 cup (120ml) buttermilk, room temperature
- 1 tablespoon vanilla bean paste (or 2 teaspoons vanilla extract)
For the pan release:
- 2 tablespoon vegetable shortening
- 2 tablespoon vegetable oil
- 2 tablespoon all-purpose flour
For the glaze and decoration:
- 2 cup powdered sugar, sifted
- 3 –4 tablespoons heavy cream or whole milk
- 1 teaspoon vanilla bean paste
- Pinch of salt
- Gold dragées or edible pearls
- 1 crown cake topper (reusable or edible)
Instructions
- Preheat the oven to 350°F (177°C). Mix the shortening, oil, and flour into a smooth paste and use a pastry brush to work it into every crevice of the crown bundt pan.
- Melt the butter in a saucepan over medium heat until it foams, turns clear gold, and smells nutty with brown flecks on the bottom, about 5–7 minutes. Pour into a heatproof bowl and cool 15 minutes.
- Whisk together the flour, baking powder, baking soda, and salt in a medium bowl. Set aside.
- Whisk the cooled brown butter and sugar together until slightly grainy, about 1 minute. Add the eggs one at a time, whisking well after each, then whisk in the vanilla bean paste.
- Add the flour mixture in three additions, alternating with the sour cream and buttermilk, starting and ending with flour. Mix just until no streaks remain.
- Pour the batter into the prepared crown pan and tap firmly on the counter twice to release air pockets.
- Bake for 50–55 minutes, until a toothpick comes out with a few moist crumbs and the top springs back gently when pressed.
- Cool in the pan for exactly 15 minutes, then invert onto a wire rack and lift the pan straight up and off.
- Let the cake cool completely, about 1 hour, before glazing.
- Whisk the powdered sugar, cream, vanilla bean paste, and salt into a glaze that drips in a slow ribbon. Drizzle over the cooled cake in two thin coats, 10 minutes apart, pressing gold dragées into the wet glaze.
- Once the glaze has set, about 20 minutes, place the crown topper into the center hole.
Notes
- Room-temperature eggs, sour cream, and buttermilk blend into the brown butter without curdling — cold ingredients are the most common cause of a lumpy batter.
- Halve the recipe for a 6-cup mini crown pan and reduce the bake time to 30–33 minutes.
- Double the recipe for two cakes if you want a stacked or tiered crown display for a wedding or quinceañera.
- Leftover homemade pan release (shortening, oil, and flour) keeps in a sealed jar at room temperature for up to 3 months for future bakes.
- For the gluten-free version, use a 1:1 gluten-free flour blend with xanthan gum; expect a slightly denser crumb.
- For the dairy-free version, use plant-based butter (browns faster, so watch closely) and full-fat coconut cream in place of the sour cream.
- If your crown topper isn't food-safe, insert it into a straw pushed into the cake so it doesn't touch the crumb directly.
- The unglazed cake freezes well for up to 3 months; glaze and decorate only after it's fully thawed so the sanding sugar stays bright.## More Recipes You'll Love