Chilis Corn on the Cob Recipe (Copycat)

I ordered chilis corn on the cob as a side more times than I’d like to admit before I finally tried to recreate it at home. The first attempt was flat — just corn with chili powder dumped on top, no real flavor underneath. It took three rounds of testing to figure out the actual trick: the seasoning has to go into the butter first, not onto the corn after.
I tested this three times, changing only the ratio of chili powder to paprika to cayenne in the butter. One batch was barely detectable. One nearly took the roof off my mouth. The version below is the one that landed right in the middle — smoky, a little warm, and balanced enough that both my spice-averse husband and my heat-seeking neighbor asked for the recipe.
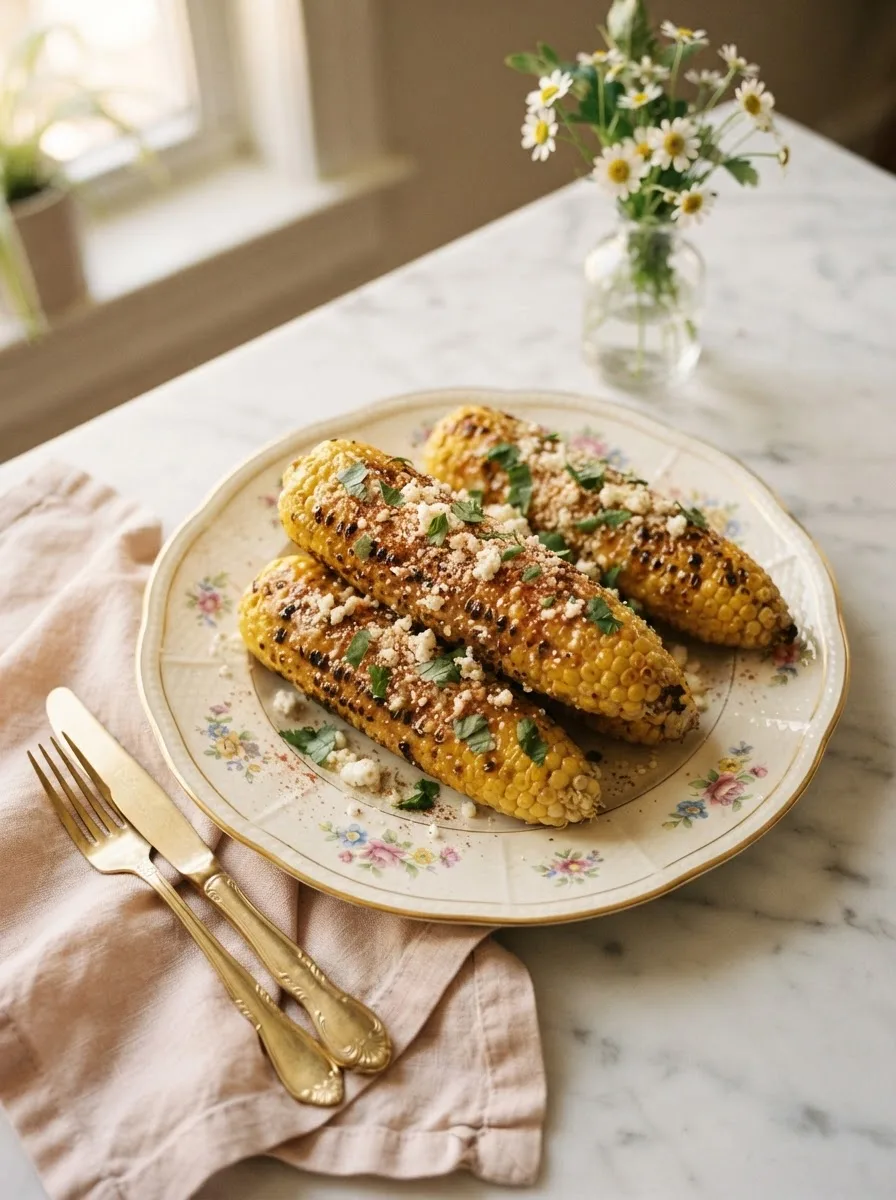
What makes this version worth making at home isn’t just the flavor — it’s that you control the heat. Chili’s version is consistent, but it’s built for a broad audience, which means it’s milder than a lot of home cooks would actually prefer. This recipe gives you the same smoky, buttery base with the option to dial the spice up or down depending on who’s at your table.
★★★★★ “I made this for a backyard cookout and three people asked if I’d ordered it from Chili’s. The chili-lime butter is the whole thing — don’t skip toasting the spices first.” — Danielle R., recipe tester (pre-launch)
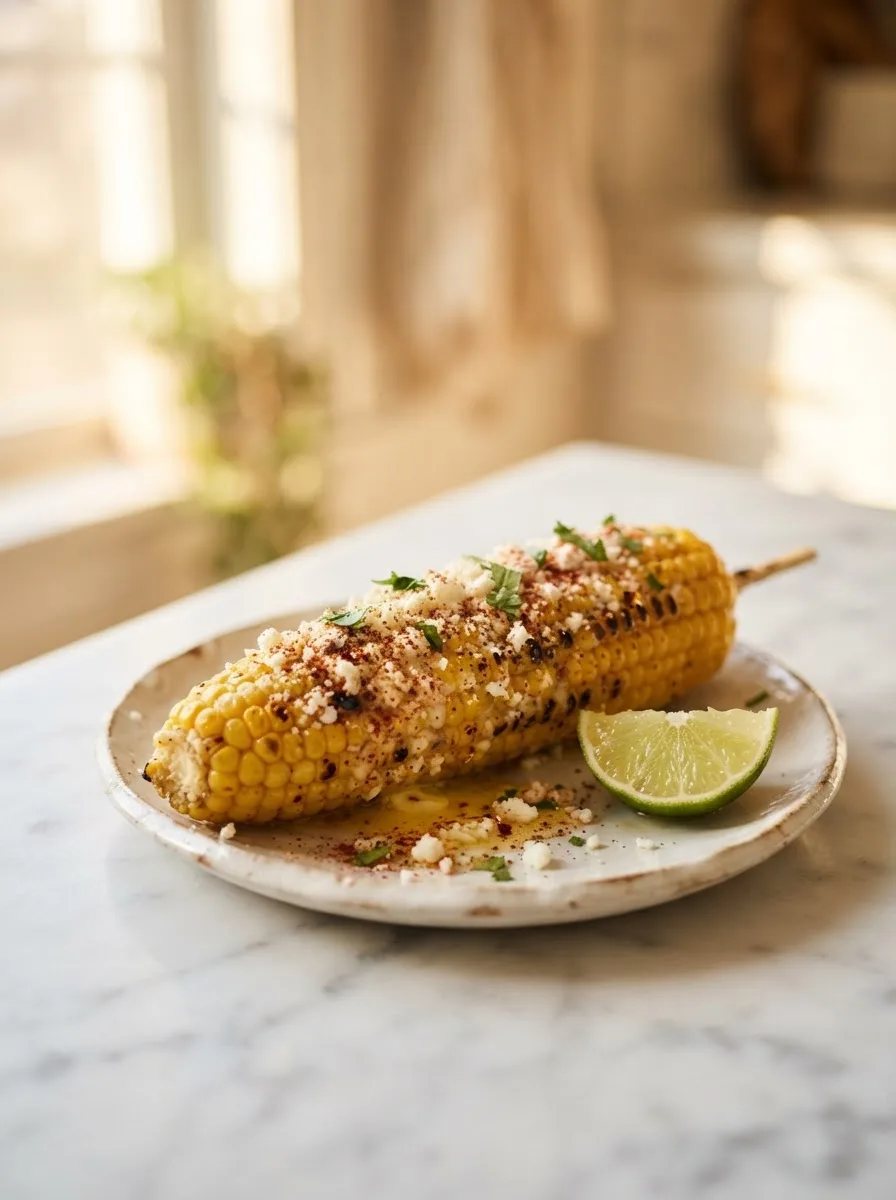
Why You’ll Love This Chilis Corn on the Cob
- Tastes like the restaurant version, but better: The chili-lime butter is stronger and smokier than what you get at Chili’s — because you’re making it fresh, not holding it under a heat lamp.
- Heat level is up to you: The Controlling the Heat section below shows exactly what to change for mild, medium, or spicy.
- Ready in 25 minutes: No grill required — this works on the stovetop, on a grill, or under the broiler.
- Feeds a crowd cheaply: Corn is one of the least expensive vegetables at the store, and this recipe scales up easily for cookouts.
Key Ingredients
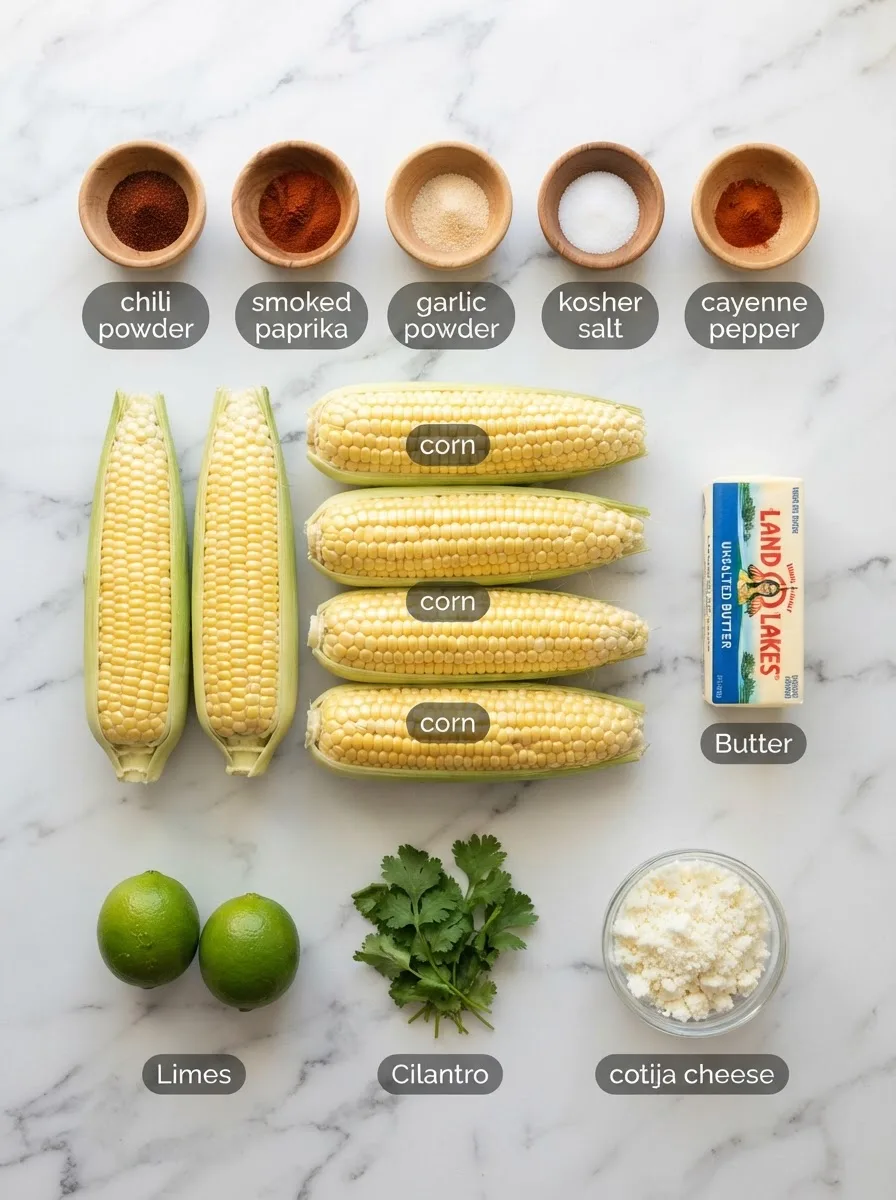
Corn (6 ears). Look for ears with tight, bright green husks and plump, evenly spaced kernels. Frozen corn on the cob works in a pinch — thaw fully before cooking or the butter won’t adhere evenly.
Unsalted butter (½ cup). Unsalted lets you control the salt level once the chili powder and salt are mixed in. If you only have salted butter, cut the added kosher salt by half.
Chili powder + smoked paprika. This combination is the backbone of the flavor — chili powder brings the earthy base, and smoked paprika adds the char flavor you’d otherwise only get from a real grill. Don’t substitute regular paprika; it won’t bring the same smokiness.
Cayenne pepper. This is the heat dial. See the Controlling the Heat section below for exact amounts by spice preference.
Lime. Fresh juice and zest brighten the butter and cut through the richness. Bottled lime juice works but tastes noticeably flatter — use fresh if you can.
Cotija cheese. A salty, crumbly Mexican cheese similar to feta. Parmesan is the closest substitute if you can’t find cotija, though the flavor is slightly less tangy.
Ingredient Note: Toast the chili powder and smoked paprika in the melted butter for 60 seconds before brushing it on the corn. This one step — which most copycat versions skip — is what makes the flavor taste developed instead of dusty.
Equipment You’ll Need
- Large pot — for boiling the corn. A deep skillet works if you don’t have a pot big enough to submerge the ears.
- Small saucepan — for melting and toasting the butter mixture. A microwave-safe bowl works if you’re melting the butter that way, but you’ll lose the toasting step.
- Basting brush — for coating the corn evenly. The back of a spoon works if you don’t have one.
- Tongs — for turning the corn on the grill or under the broiler.
Controlling the Heat Level (A Controlled Test)
Chili’s version of this side is mild by design — it has to work for the widest possible audience. At home, you don’t have that constraint. I tested three cayenne ratios against the same base of chili powder and smoked paprika to map out exactly how much heat each level brings.
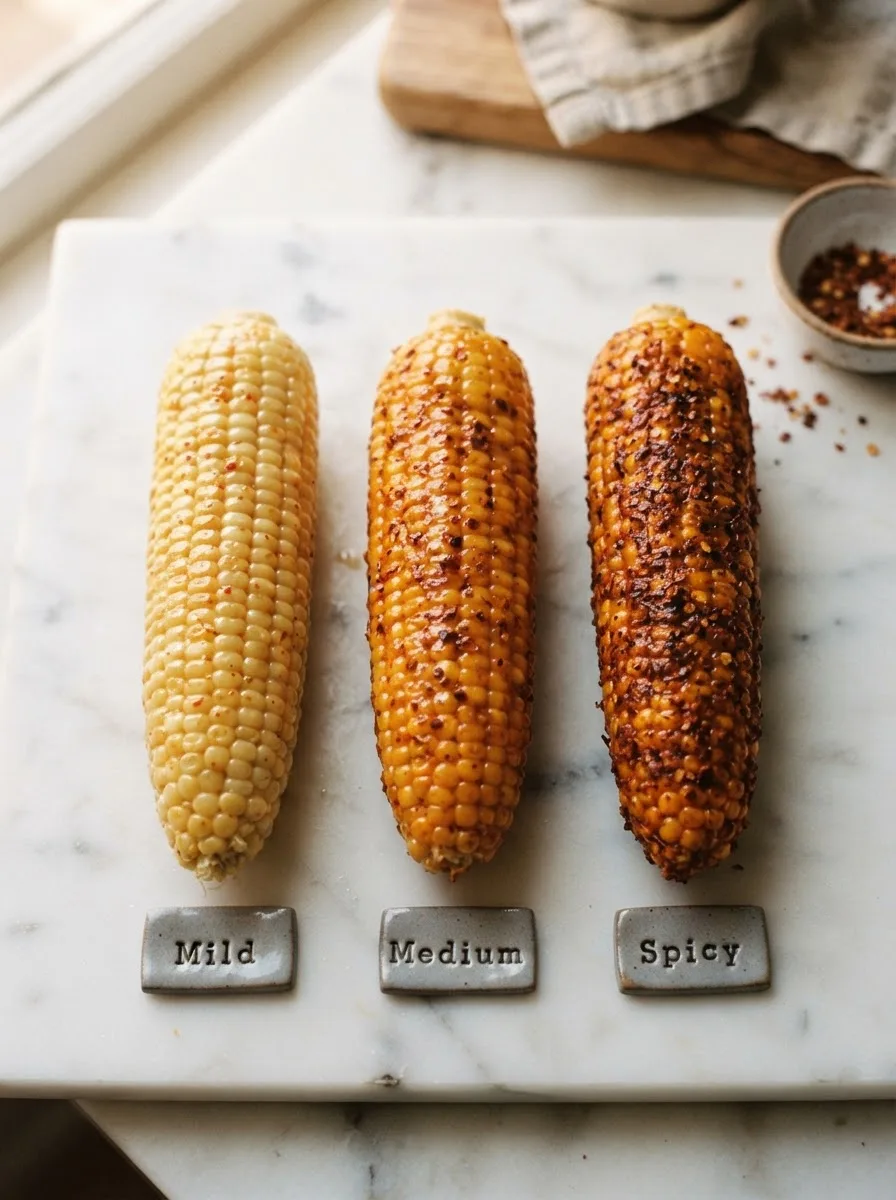
Mild (⅛ tsp cayenne): Closest to the actual Chili’s version. Warm but not spicy — good for kids or heat-sensitive guests.
Medium (¼ tsp cayenne): The version in the recipe card below. Noticeable warmth on the back of the tongue without overwhelming the corn’s sweetness.
Spicy (½ tsp cayenne): A real kick. This is the version my neighbor asked for by name after the taste test.
The takeaway: cayenne is the only variable that needs to change. Everything else in the butter stays exactly the same across all three levels.
How to Make Chilis Corn on the Cob
Before you start: Husk the corn completely, removing all silk strands — any leftover silk will stick to the butter and end up on your teeth.
Step 1 — Boil the corn
Bring a large pot of water to a boil and add the husked corn. Boil for 6–8 minutes, until the kernels are bright yellow and tender when pierced with a fork. Don’t oversalt this water — the seasoning happens in the butter, not here.
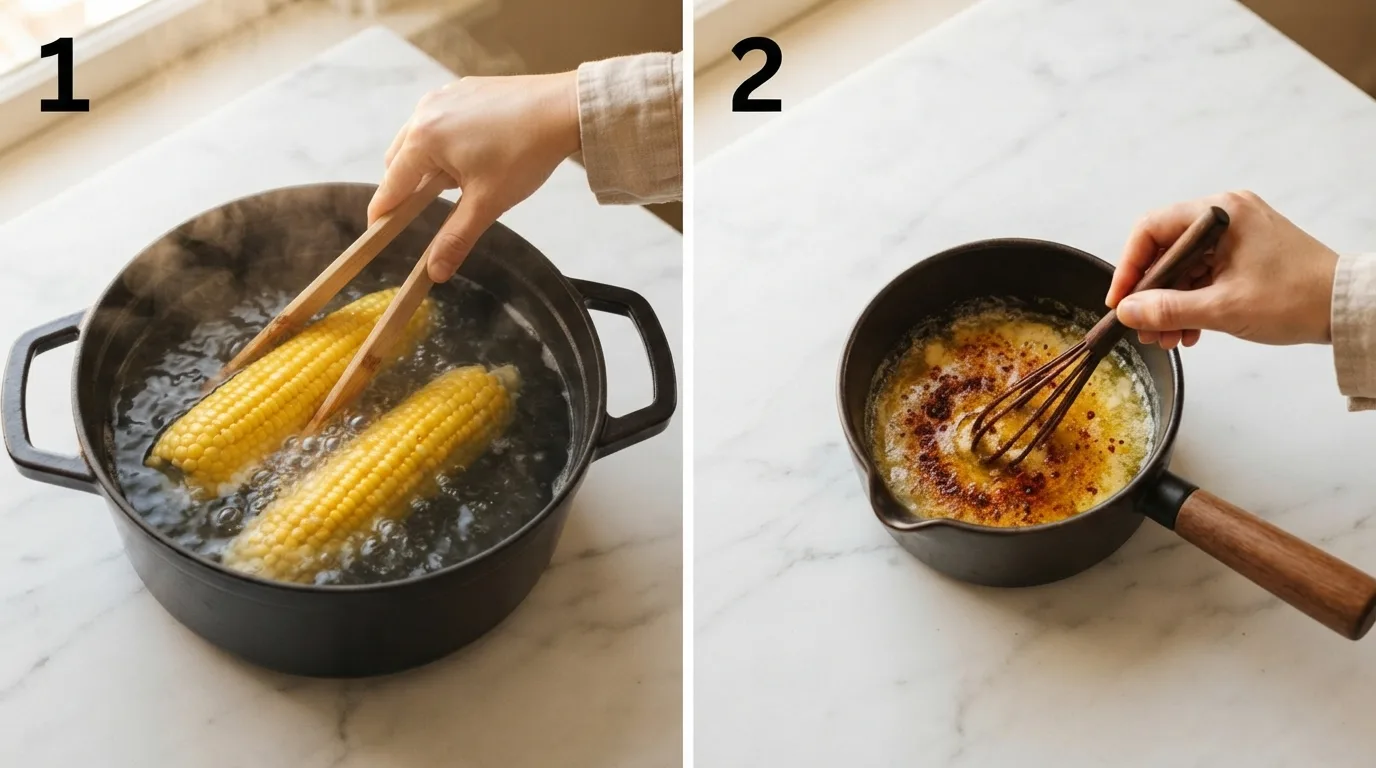
Step 2 — Make the chili-lime butter
While the corn boils, melt the butter in a small saucepan over medium-low heat. Once melted, whisk in the chili powder, smoked paprika, garlic powder, cayenne, and salt. Cook for 60 seconds, stirring constantly — this toasts the spices and is the step that makes the flavor taste developed instead of raw. Remove from heat and whisk in the lime zest and juice.
Step 3 — Char the corn (optional but recommended)
Drain the boiled corn and pat dry. Heat a grill, grill pan, or broiler to high. Char the corn for 3–4 minutes, turning every minute, until you see blackened spots on several sides. This step isn’t strictly necessary — the corn is fully cooked from boiling — but the char is where the smoky flavor Chili’s is known for actually comes from.
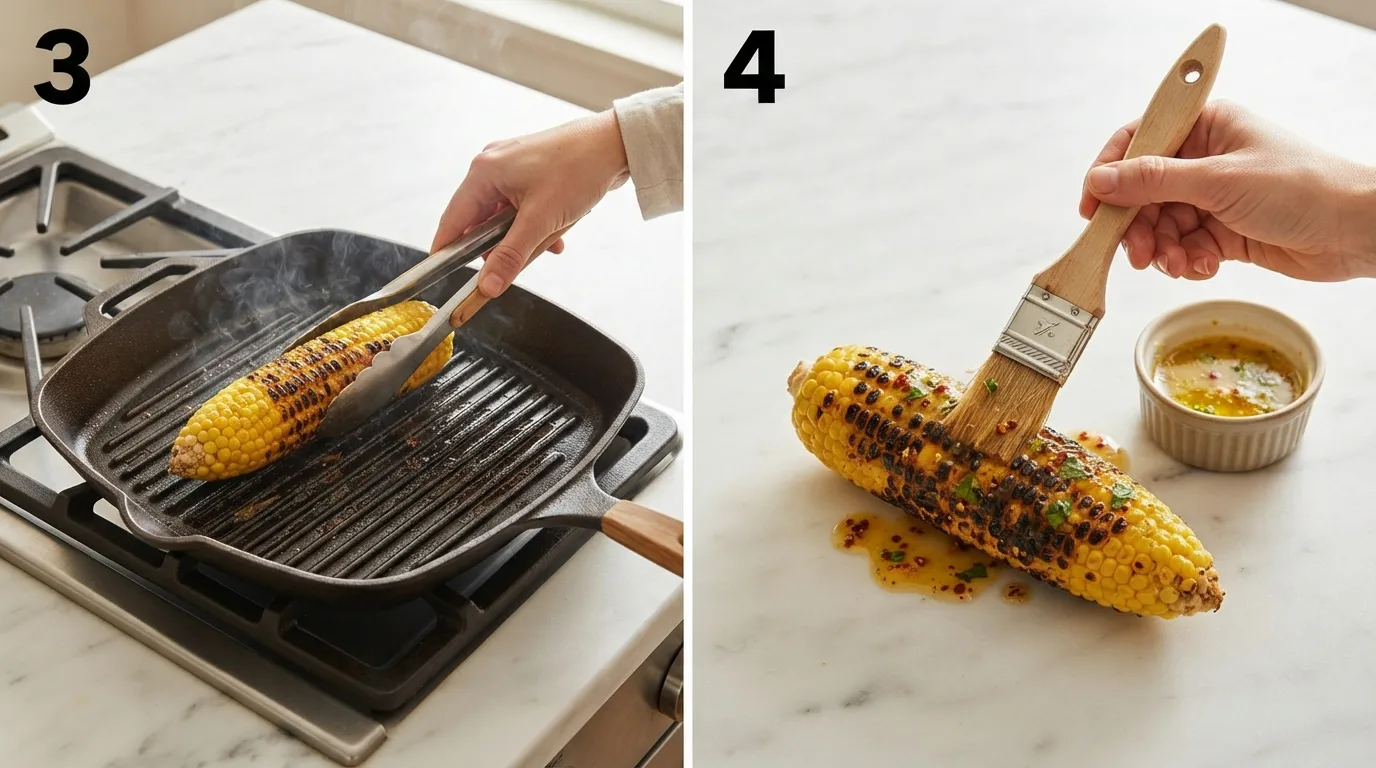
Step 4 — Brush with the chili-lime butter
Using the basting brush, coat each ear of corn generously with the warm chili-lime butter, turning to cover all sides. Use all of the butter — it’s meant to pool slightly in the ridges between kernels.
Step 5 — Finish and serve
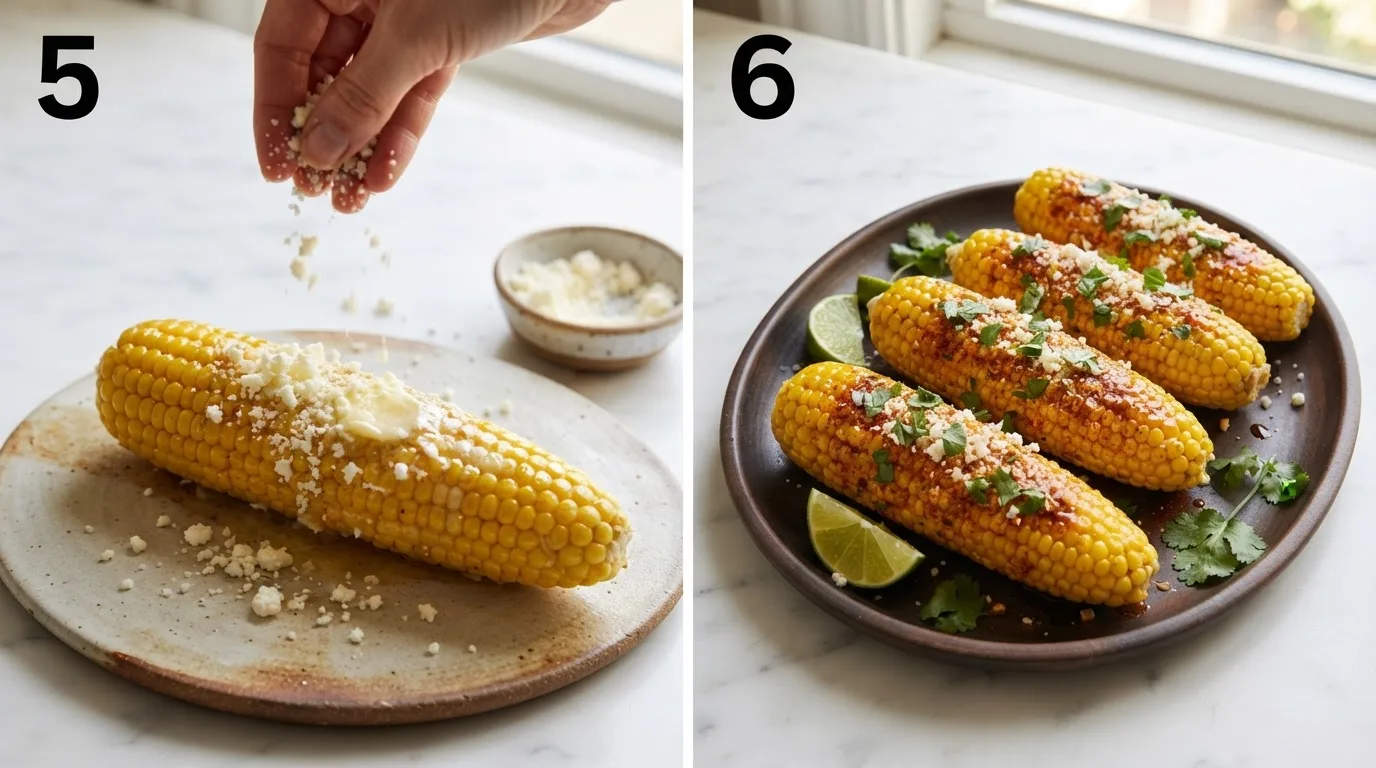
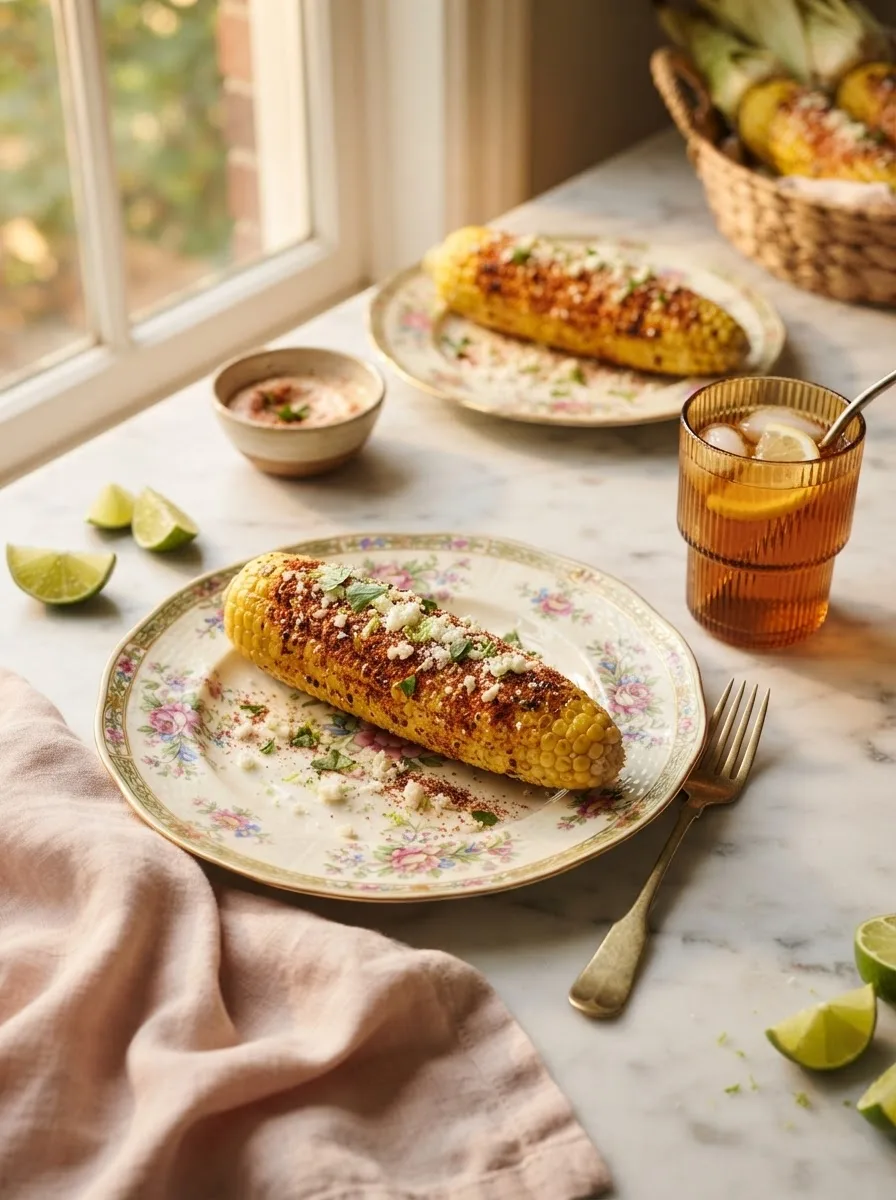
Sprinkle the buttered corn with crumbled cotija cheese and chopped cilantro. Serve immediately with extra lime wedges on the side. The corn is ready when the butter has soaked slightly into the kernels but the cheese is still holding its crumble — that’s the window where it looks and tastes the way it does fresh off the grill.
Pro Tips for Perfect Chilis Corn on the Cob
Tip 1: Toast the spices, don’t just stir them in. Sixty seconds in the hot butter blooms the chili powder and paprika instead of leaving them tasting raw and dusty. This is the single biggest difference between this version and a flat copycat attempt.
Tip 2: Dry the corn before charring. Wet corn steams instead of charring on the grill or grill pan, and you’ll end up with soft, pale spots instead of the blackened stripes that carry the smoky flavor.
Tip 3: Salt the butter, not the boiling water. All the seasoning should live in the butter mixture. Salting the boiling water dilutes into the pot and doesn’t actually season the corn itself.
Tip 4: Serve within 10 minutes of buttering. The cotija cheese starts to melt into the butter the longer it sits, and you lose the textural contrast between the crumbly cheese and the glossy corn.
Variations and Substitutions
Dietary Variations:
- Dairy-free: Swap the butter for an equal amount of vegan butter and skip the cotija, or use a dairy-free feta-style crumble instead. The flavor stays close; the richness is slightly lighter.
- Vegan: Use vegan butter and skip the cheese entirely, or finish with a sprinkle of nutritional yeast for a savory note instead of cotija.
Flavor Variations:
- Elote-style: Swap half the butter for mayonnaise and sour cream, mixed with the same spices. This gives you a creamier, tangier version closer to Mexican street corn.
- Honey chipotle: Add 1 tablespoon of honey and swap the chili powder for chipotle powder for a smoky-sweet version.
Ingredient Substitutions:
- Fresh corn → frozen corn on the cob, fully thawed and patted dry before charring
- Cotija cheese → crumbled feta or grated Parmesan
- Fresh lime → bottled lime juice (use 1 tablespoon in place of one lime’s juice and zest)
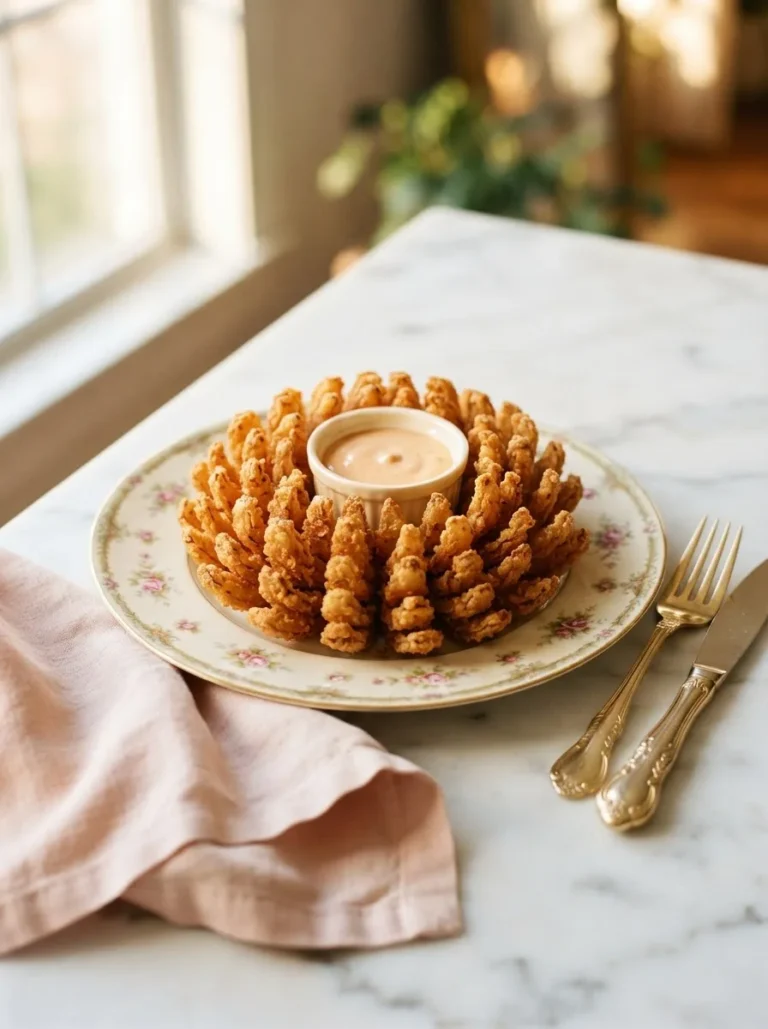
If you’re planning a full spread, this corn pairs well with a Texas Roadhouse onion blossom as a starter and a bowl of Cheesecake Factory gumbo for something heartier on the side.
Troubleshooting
Why is my corn chewy instead of tender?
This usually means the corn was undercooked or the ears were older with tougher kernels. Boil for the full 6–8 minutes, and if the corn still feels firm, give it another 2 minutes — older corn can need extra time.
Why won’t the seasoning stick to the corn?
If the corn wasn’t dried after boiling, the water dilutes the butter as it’s brushed on, and the seasoning slides off instead of clinging. Pat the corn fully dry before brushing with the chili-lime butter.
Why does my butter mixture taste bitter?
Toasting the spices too long or over too-high heat scorches them. Keep the heat at medium-low and pull the pan off after 60 seconds — any longer and the chili powder starts to taste burnt instead of toasted.
Storage and Make-Ahead
Counter: Corn is best served warm and eaten within 1 hour of cooking. Leftover corn left out longer than 2 hours should be refrigerated or discarded.
Refrigerator: Store cooled corn in an airtight container for up to 3 days. The butter will solidify slightly in the fridge — that’s expected.
Freeze: Wrap cooled, buttered corn individually in plastic wrap, then place in a freezer bag for up to 2 months. The texture softens slightly after freezing, so this works best if you plan to reheat with a quick char.
Reheating: Warm in a 350°F oven for 8–10 minutes, or on a grill pan for 3–4 minutes per side, until the butter re-melts and the corn is heated through.
Make-Ahead: The chili-lime butter can be made up to 3 days ahead and stored in the fridge. Rewarm gently before brushing onto freshly cooked corn.
Frequently Asked Questions
Q: How spicy is chilis corn on the cob? A: The restaurant version is mild. This recipe defaults to a medium heat level with ¼ teaspoon of cayenne, but you can adjust up or down using the ratios in the Controlling the Heat section above.
Q: Can I make this without a grill? A: Yes. Boiling the corn fully cooks it, and the char step is optional — you can skip it and go straight to brushing on the butter, though you’ll lose some of the smoky flavor.
Q: Can I use canned or frozen corn instead of fresh ears? A: Frozen corn on the cob works well if fully thawed and dried before charring. Canned corn kernels aren’t a good substitute here since the recipe depends on whole ears for the buttering and charring steps.
Q: What cheese is closest to cotija if I can’t find it? A: Crumbled feta or grated Parmesan are the closest substitutes — feta is closer in texture, Parmesan is closer in saltiness.
Q: Can I make the chili-lime butter ahead of time? A: Yes, up to 3 days ahead. Store it covered in the fridge and gently rewarm before brushing it onto hot corn.
Q: Is this recipe gluten-free? A: Yes, as written. All the ingredients — corn, butter, dry spices, lime, and cotija — are naturally gluten-free.
More Recipes You’ll Love
- Texas Roadhouse Onion Blossom — A copycat fried onion appetizer with the same restaurant-style dipping sauce.
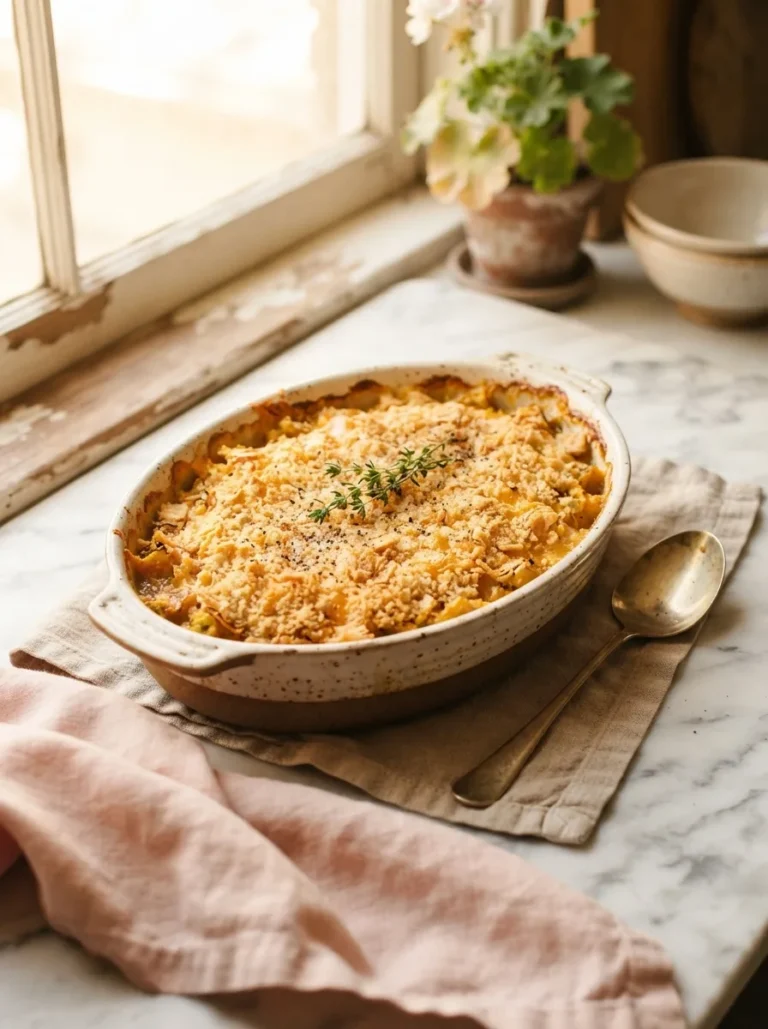
- Cheesecake Factory Gumbo Recipe — A rich, smoky gumbo that pairs well with this corn as part of a bigger spread.
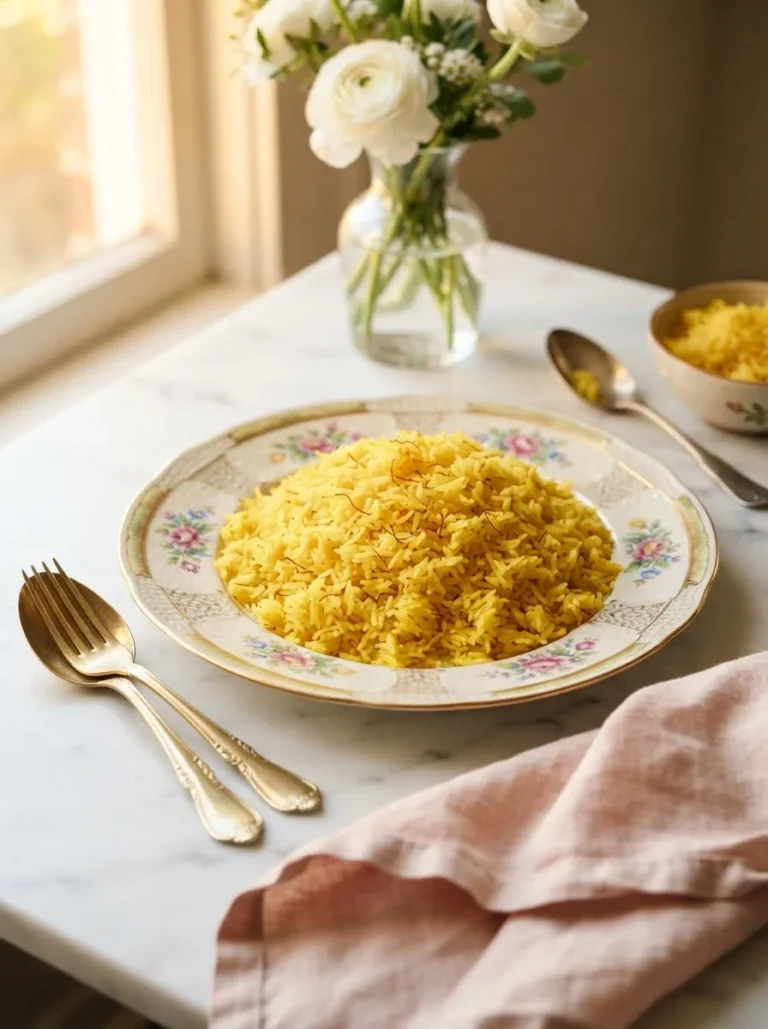
- CAVA Rice Recipe — A tested copycat of the herbed rice served at CAVA, great alongside grilled corn.
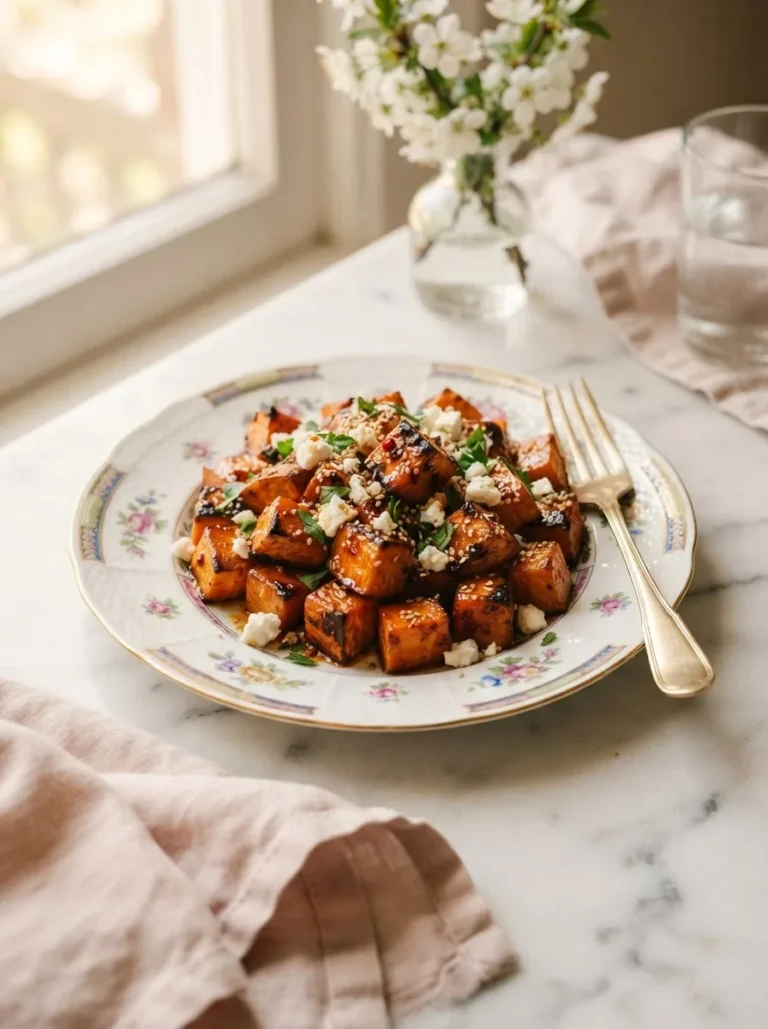
- CAVA Sweet Potato Recipe — Another CAVA copycat side dish with a similar sweet-and-savory balance.
Chili’s Corn on the Cob Recipe (Copycat)
Ingredients
For the Corn:
- 6 ears fresh corn, husked
- Water, for boiling
For the Chili-Lime Butter:
- 1/2 cup unsalted butter
- 1 tablespoon chili powder
- 1 teaspoon smoked paprika
- 1/2 teaspoon garlic powder
- 1/4 teaspoon cayenne pepper (adjust per heat preference)
- 1/2 teaspoon kosher salt
- 1 lime, zested and juiced
For Finishing:
- 1/3 cup crumbled cotija cheese
- 2 tablespoon chopped fresh cilantro
- Lime wedges, for serving
Instructions
- Bring a large pot of water to a boil. Add the husked corn and boil for 6–8 minutes, until the kernels are tender.
- While the corn boils, melt the butter in a small saucepan over medium-low heat. Whisk in the chili powder, smoked paprika, garlic powder, cayenne, and salt. Cook for 60 seconds, stirring constantly. Remove from heat and whisk in the lime zest and juice.
- Drain the boiled corn and pat dry. Heat a grill, grill pan, or broiler to high and char the corn for 3–4 minutes, turning every minute, until blackened spots form.
- Brush each ear of corn generously with the warm chili-lime butter, coating all sides.
- Sprinkle with crumbled cotija cheese and chopped cilantro. Serve immediately with extra lime wedges.
Notes
- **Heat level:** Use ⅛ teaspoon cayenne for mild, ¼ teaspoon for medium, or ½ teaspoon for spicy — everything else in the butter stays the same.
- **No grill needed:** Skip the charring step entirely if you don't have a grill or grill pan; the corn is fully cooked from boiling alone.
- **Drying matters:** Pat the corn fully dry before charring and before brushing with butter, or the seasoning won't stick properly.
- **Make-ahead butter:** The chili-lime butter can be made up to 3 days in advance and stored in the fridge.
- **Doubling:** This recipe scales easily — double the butter mixture for up to 12 ears of corn.
- **Frozen corn substitute:** Fully thaw and pat dry before boiling or charring for the best texture.
- **Cheese substitute:** Use crumbled feta or grated Parmesan if cotija isn't available.
- **Serving window:** Serve within 10 minutes of buttering for the best texture contrast between the crumbly cheese and glossy corn.