Sovitika Poyivia Recipe (Soft Potato-Stuffed Buns)

The first time I made this sovitika poyivia recipe, the dough came out of the oven pale and dense — more brick than bun. I’d rushed the rise because I was hungry, which is never a good reason to skip a step in baking.
I tested this dough four times before it did what I wanted: a soft, slightly sweet yeast bread wrapped around a warm potato, cheese, and dill filling that stays creamy instead of drying out in the oven. The variable that mattered most wasn’t the filling at all — it was giving the dough a full second rise before it ever touched the sheet pan.
This is the version that finally worked. It’s the one I keep coming back to on cold weekends when I want something warm, savory, and a little bit different from the usual dinner rotation.
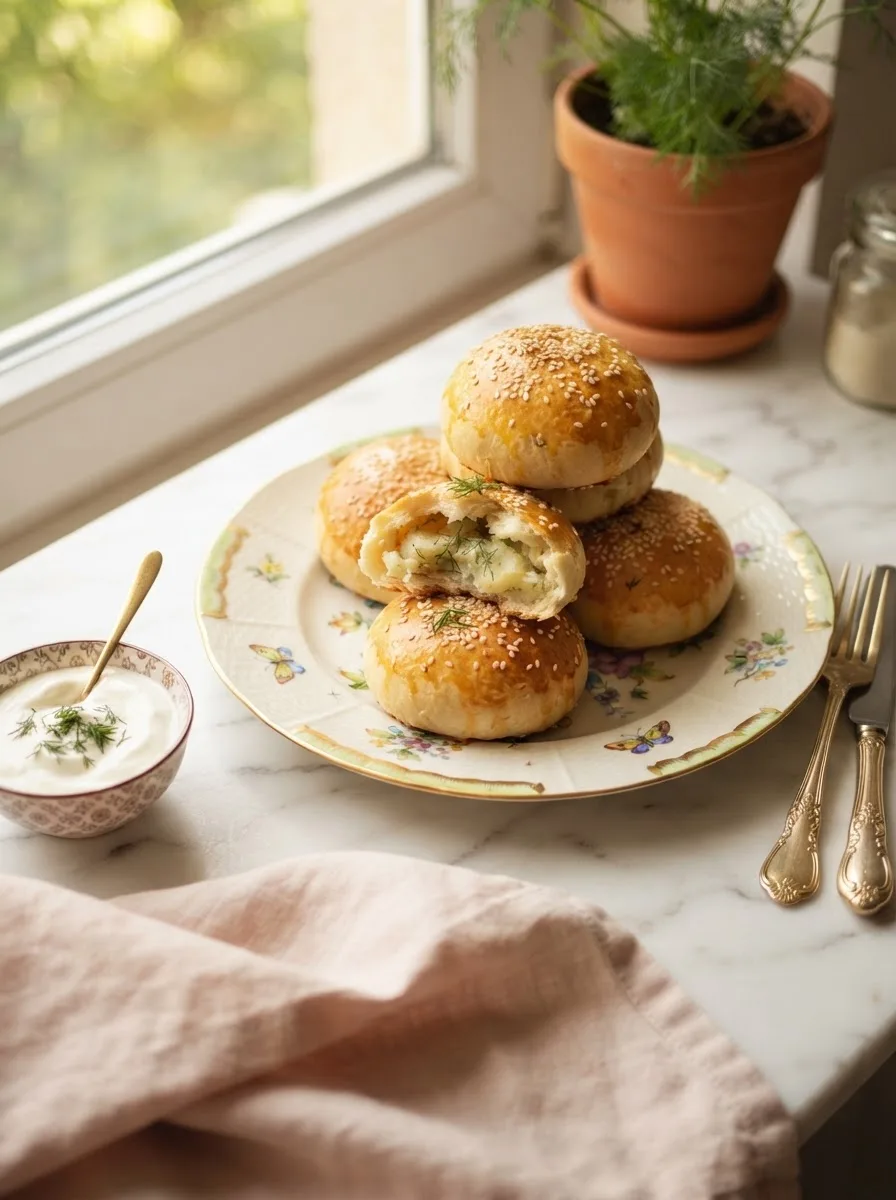
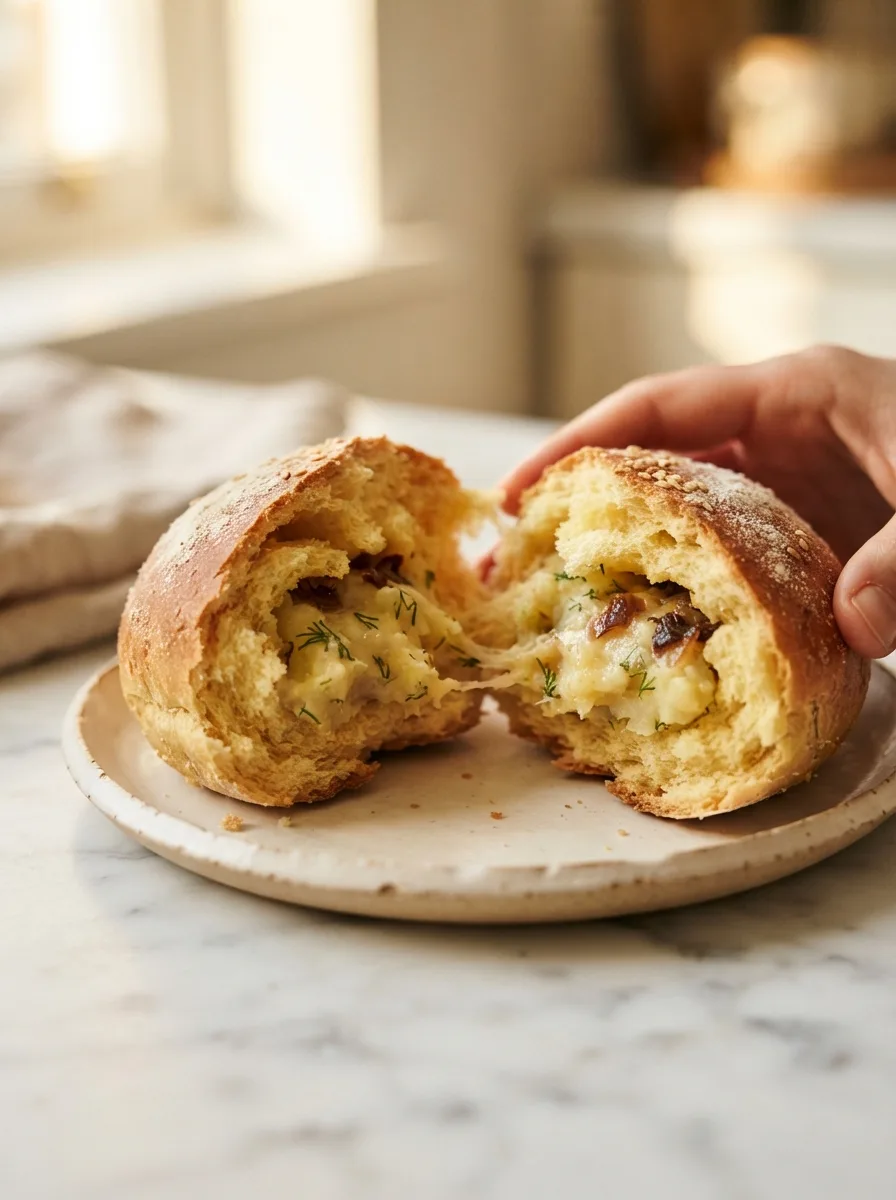
What makes this version different is the filling ratio. Most versions I tried during testing were either too wet (the dough turned gummy where it met the potato) or too dry (the filling tasted like leftover mashed potatoes with no personality). Caramelizing the onion first and mixing it into the potato and cheese while everything is still warm solves both problems at once.
The result is a bun with a soft, faintly sweet crumb on the outside and a rich, savory center that stays creamy even after the buns cool. They’re good warm from the oven, and honestly just as good the next morning with coffee.
★★★★★ “I made these for a Sunday brunch and my husband asked why I’d never made them before. The filling didn’t leak out once, which I was worried about.” — Dana R., recipe tester (pre-launch)
Why You’ll Love This Sovitika Poyivia Recipe
- A filling that stays creamy, not dry: Caramelizing the onion first and folding it into warm potato and cheese keeps the center rich instead of pasty.
- A dough that’s genuinely soft: A little extra sugar and a full second rise give these a tender, slightly sweet crumb — not a dense, bready one.
- Make-ahead friendly: The filling can be made a day ahead, which cuts your active baking day down significantly.
- No fancy equipment: A stand mixer helps, but this dough comes together fine by hand if that’s what you’ve got.
Key Ingredients
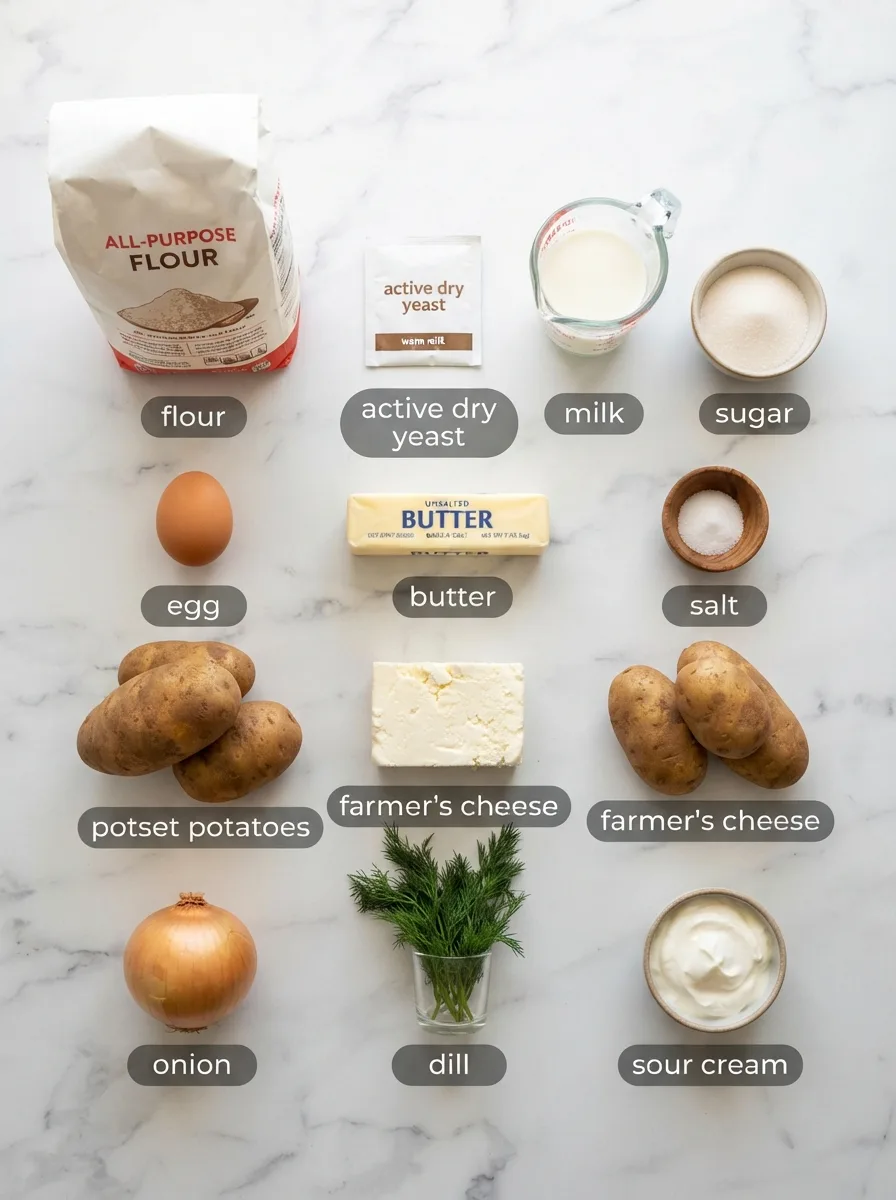
Russet potatoes (2 pounds). Russets mash drier and starchier than waxy potatoes like Yukon gold, which matters here — a wetter mash makes the filling weep moisture into the dough as it bakes, and that’s what causes soggy bottoms.
Farmer’s cheese (1 cup). This adds tang and a slightly crumbly texture that keeps the filling from turning into plain mashed potato. Cream cheese works as a 1:1 swap if farmer’s cheese isn’t available near you — the filling will be a bit smoother, but the flavor holds up.
Fresh dill (¼ cup, chopped). Dried dill works in a pinch, but use a third of the amount — dried herbs are more concentrated and can turn bitter if you use the same volume as fresh.
Active dry yeast (1 packet). Check the expiration date before you start. Old yeast is the single most common reason yeast dough doesn’t rise, and there’s no fixing it once the dough is mixed.
Yellow onion (1 large, caramelized). Don’t skip caramelizing it — raw diced onion inside the filling stays sharp and watery, and it’s the difference between a filling that tastes developed and one that tastes unfinished.
Ingredient Note: Weigh your flour if you have a kitchen scale (440g). Scooping flour directly from the bag packs it down and can add up to an extra ¼ cup without you realizing it — that’s usually what makes yeast dough turn dense instead of soft.
Equipment You’ll Need
- Stand mixer with dough hook — Speeds up kneading considerably. No stand mixer? Knead by hand for 8–10 minutes; it just takes longer to reach the same smooth, elastic texture.
- Large mixing bowl — For the first rise. Any bowl large enough for the dough to double works fine.
- Potato masher or ricer — A ricer gives the smoothest filling with no lumps; a regular masher works but leave a few extra minutes to mash thoroughly.
- Baking sheet + parchment paper — Standard half-sheet pan. Line it — these buns can stick without parchment.
- Pastry brush — For the egg wash. A spoon works in a pinch, just go gently so you don’t deflate the risen dough.
Controlling the Crust: Oven Temperature (A Controlled Test)
I tested this recipe at three different oven temperatures — 350°F, 375°F, and 400°F — because the first batch came out pale on top while the bottoms were nearly burnt.
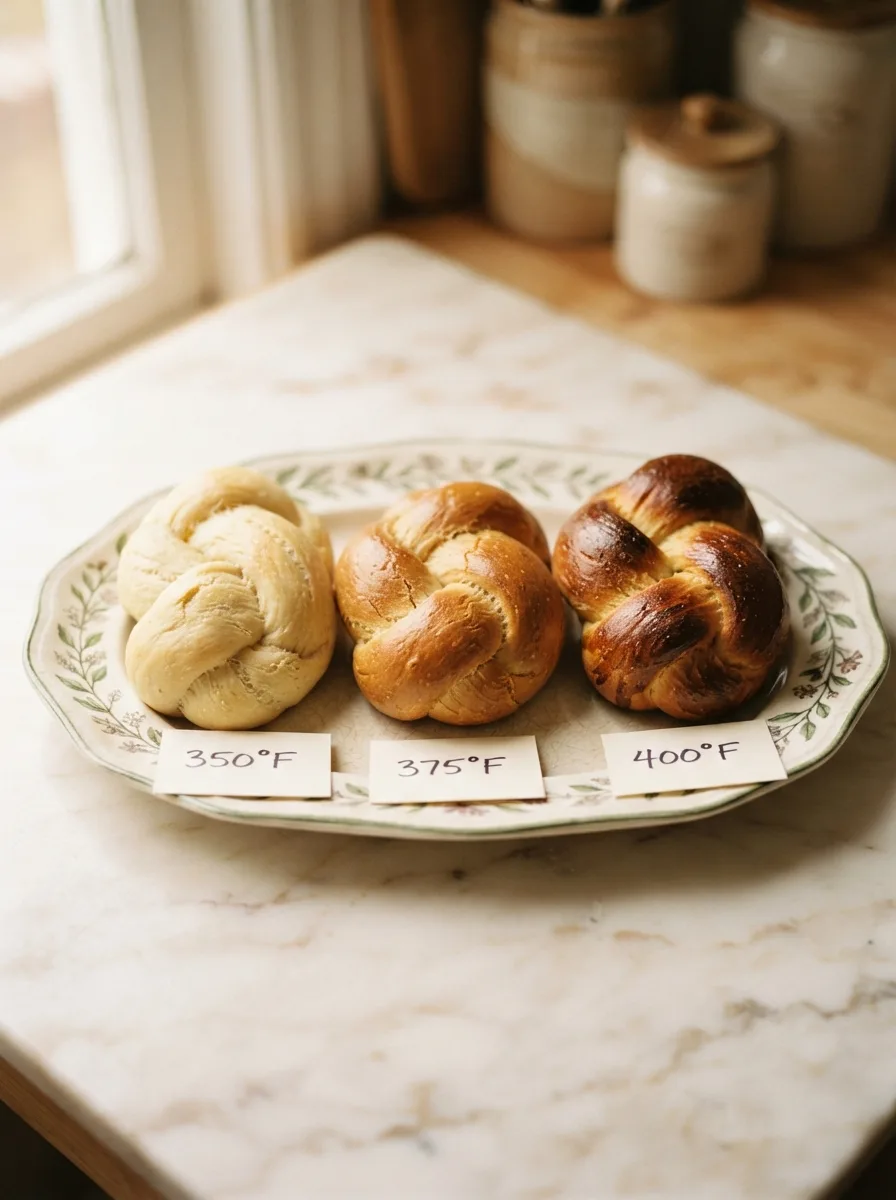
350°F: Bottoms baked evenly but the tops stayed pale even at 30 minutes — not enough color for a proper crust. 400°F: Bottoms browned too fast, occasionally scorching before the dough inside fully set. 375°F: The winner. Bottoms baked through evenly in 22–25 minutes, and the tops turned a deep golden brown from the egg wash without drying the filling underneath.
The takeaway: 375°F is the sweet spot for this dough. If your oven runs hot, check at the 18-minute mark rather than waiting for the full 25.
How to Make Sovitika Poyivia
Before you start: Bring your egg and butter to room temperature, and make sure your yeast is fresh — check the date on the packet before you begin.
Step 1 — Activate the yeast
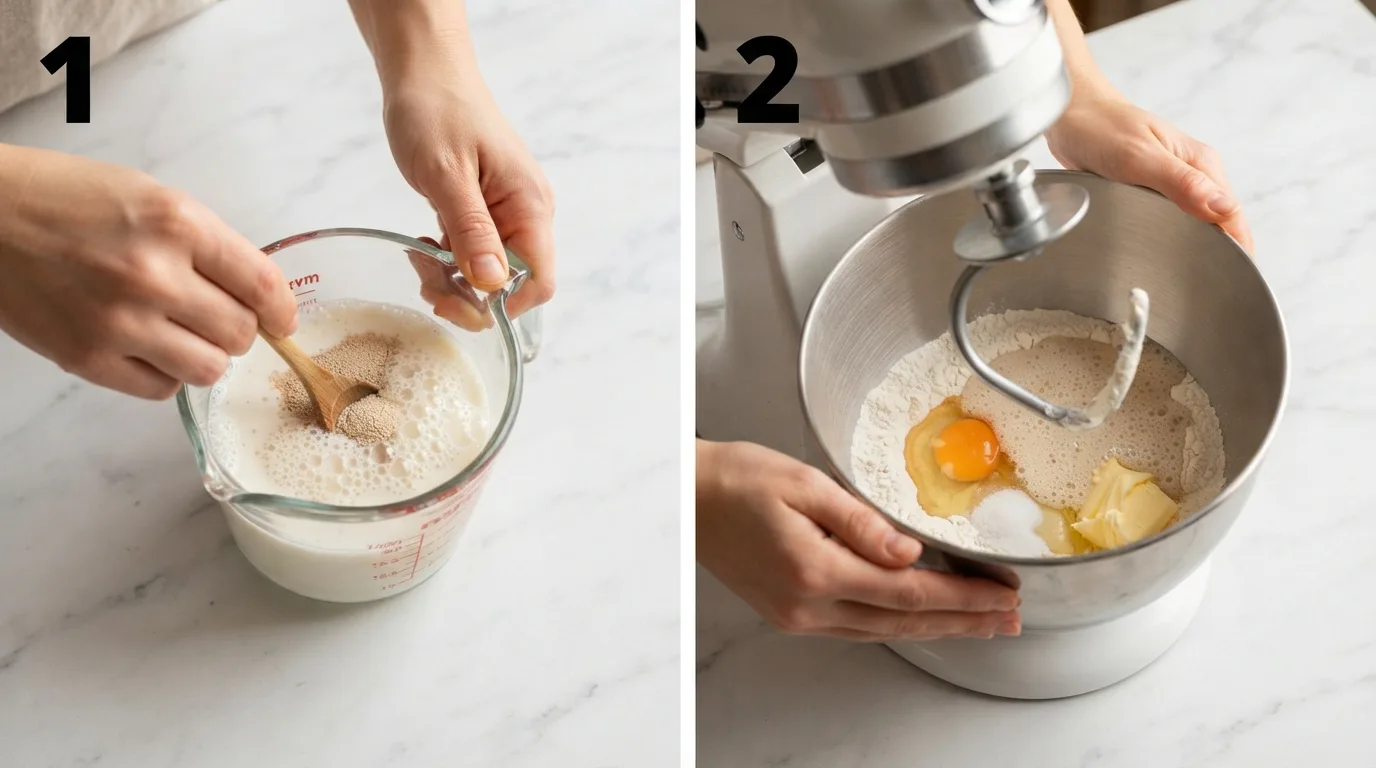
Warm the milk to about 110°F (it should feel warm on your wrist, not hot) and stir in the sugar and yeast. Let it sit for 5–10 minutes until it looks foamy on top. If it doesn’t foam at all, the yeast is dead — toss it and start with a fresh packet rather than pushing forward with dough that won’t rise.
Step 2 — Mix and knead the dough
Combine the flour and salt in your stand mixer bowl, then add the yeast mixture, egg, and softened butter. Mix on low until it comes together, then knead on medium speed for 6–8 minutes until the dough is smooth and springs back slightly when you press it with a finger. It should feel tacky but not sticky enough to leave dough on your hands.
Step 3 — First rise
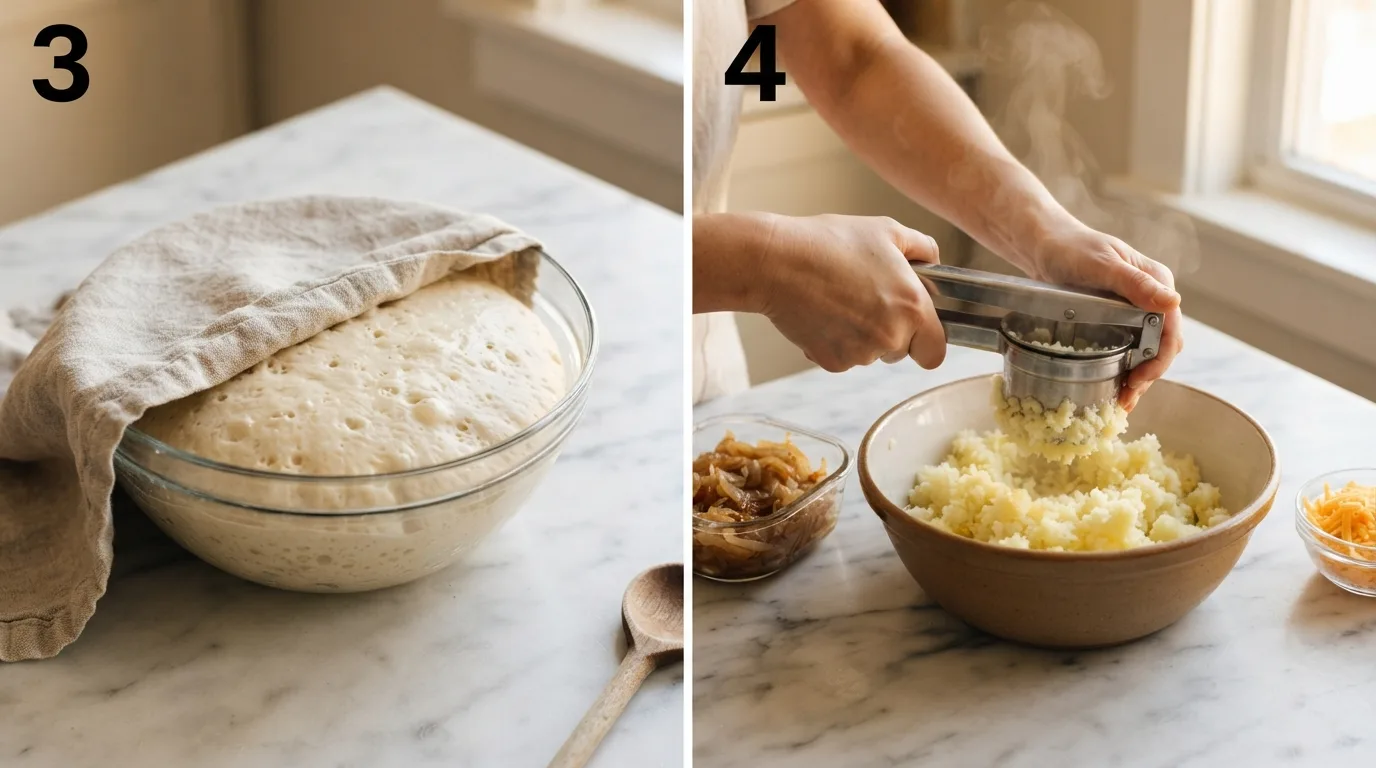
Shape the dough into a ball, place it in a lightly oiled bowl, and cover with plastic wrap or a damp towel. Let it rise somewhere warm for about 60–90 minutes, until it’s doubled in size. This is the step I rushed the first time — don’t shortcut it. A dense, under-risen dough is the most common reason this recipe disappoints.
Step 4 — Make the filling
While the dough rises, boil the cubed potatoes until fork-tender, about 15 minutes, then drain well. While the potatoes cook, caramelize the diced onion in butter over medium-low heat for 15–20 minutes, stirring occasionally, until deeply golden. Mash the potatoes (a ricer gives the smoothest texture), then fold in the caramelized onion, farmer’s cheese, dill, salt, and pepper while everything is still warm — this helps the cheese melt slightly into the potato instead of sitting in separate clumps.
Step 5 — Shape and fill the buns
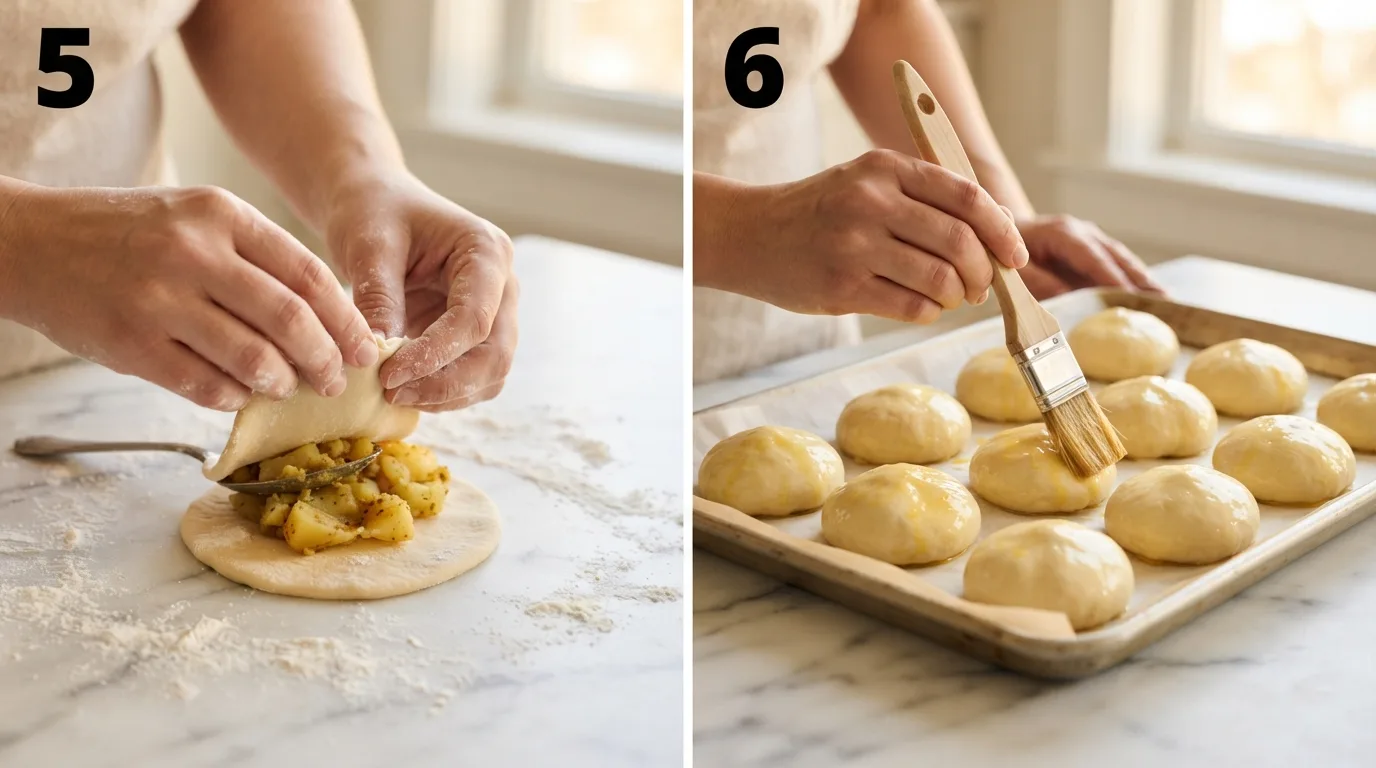
Punch down the risen dough and divide it into 12 equal pieces. Flatten each piece into a disc about 4 inches across, place 2–3 tablespoons of filling in the center, then gather the edges up and pinch them tightly closed at the top. Place seam-side down on your parchment-lined baking sheet, spaced a couple inches apart.
Step 6 — Second rise, egg wash, and bake
Cover the shaped buns loosely and let them rise again for 30 minutes, until slightly puffed. Brush each bun generously with egg wash — this is what gives the deep golden color — then bake at 375°F for 22–25 minutes, until the tops are a rich golden brown and the bottoms sound hollow when tapped. Let them cool on the pan for 5 minutes before moving them to a rack; the filling needs a moment to firm up so it doesn’t spill out when you bite in.
Pro Tips for Perfect Sovitika Poyivia
Tip 1: Don’t rush the first rise. A full 60–90 minutes gives the gluten time to relax and the yeast time to fully develop flavor — a shorter rise is the #1 reason this dough turns dense instead of soft.
Tip 2: Cool the filling slightly before you seal the buns. Filling straight off the stove is fine warm, but scalding-hot filling can partially cook the outer layer of dough before it even hits the oven, leaving a slightly gummy ring around the seam.
Tip 3: Pinch the seams tighter than feels necessary. A loosely sealed bun will pop open in the oven and leak filling onto the pan. If you can see any gap at all, pinch it again.
Variations and Substitutions
Dietary Variations:
- Dairy-free: Swap the farmer’s cheese for a dairy-free cream cheese alternative and use plant-based butter in both the dough and the caramelized onion. The dough will be slightly less rich but still rises well.
- Vegan: In addition to the dairy swaps above, replace the egg in the dough with 3 tablespoons of plain unsweetened applesauce, and use a light brush of plant milk instead of egg wash for the crust color.
Flavor Variations:
- Mushroom and onion: Swap half the potato filling for sautéed chopped mushrooms folded in with the caramelized onion — a nice earthy variation.
Ingredient Substitutions:
- Farmer’s cheese → cream cheese (1:1, smoother texture)
- Fresh dill → dried dill (use ⅓ the amount)
- Russet potatoes → Yukon gold (drain extra well; they hold more moisture)
If you liked the savory-stuffed idea here, my chicken modiga uses a similarly rich, comforting filling approach worth trying next.
Troubleshooting
Why did my filling leak out during baking?
Most likely the seams weren’t pinched tightly enough, or the dough was overfilled. Use no more than 3 tablespoons of filling per bun, and press the seams closed firmly — if you can see any gap in the dough, pinch it again before it goes on the pan.
Why is my dough dense instead of soft?
This almost always means the first rise was cut short. If your kitchen is cool, the rise can take closer to 90 minutes instead of 60 — let it fully double before moving on, even if that means waiting longer than the recipe states.
Why did the bottoms burn before the tops browned?
Your oven is likely running hot, or the buns were placed too close to the bottom heating element. Move the rack to the middle position and check at the 18-minute mark instead of waiting for 25.
Storage and Make-Ahead
Counter: Buns keep well in an airtight container at room temperature for up to 2 days; the crust softens slightly but the filling stays good.
Refrigerator: Store up to 5 days in an airtight container. Warm before serving — cold filling loses its creaminess.
Freeze: Freeze baked, fully cooled buns in a freezer bag for up to 2 months. No need to thaw before reheating.
Reheating: A 325°F oven for 10–12 minutes (straight from frozen, add 5 minutes) restores the crust far better than the microwave, which makes the dough chewy.
Make-Ahead: The potato filling can be made up to 2 days ahead and refrigerated — just bring it closer to room temperature before filling the dough so it doesn’t shock the rise.
Frequently Asked Questions
Q: Can I make the dough the night before? A: Yes — after the first rise, punch it down, cover tightly, and refrigerate overnight. Let it come back to room temperature for about an hour before shaping.
Q: Can I use instant yeast instead of active dry? A: Yes, use the same amount and skip the foaming step — instant yeast can be mixed directly into the flour. The rise times stay about the same.
Q: Can I bake these ahead and reheat for a party? A: Yes. Bake fully, cool completely, then reheat at 325°F for about 10 minutes right before serving so the crust re-crisps.
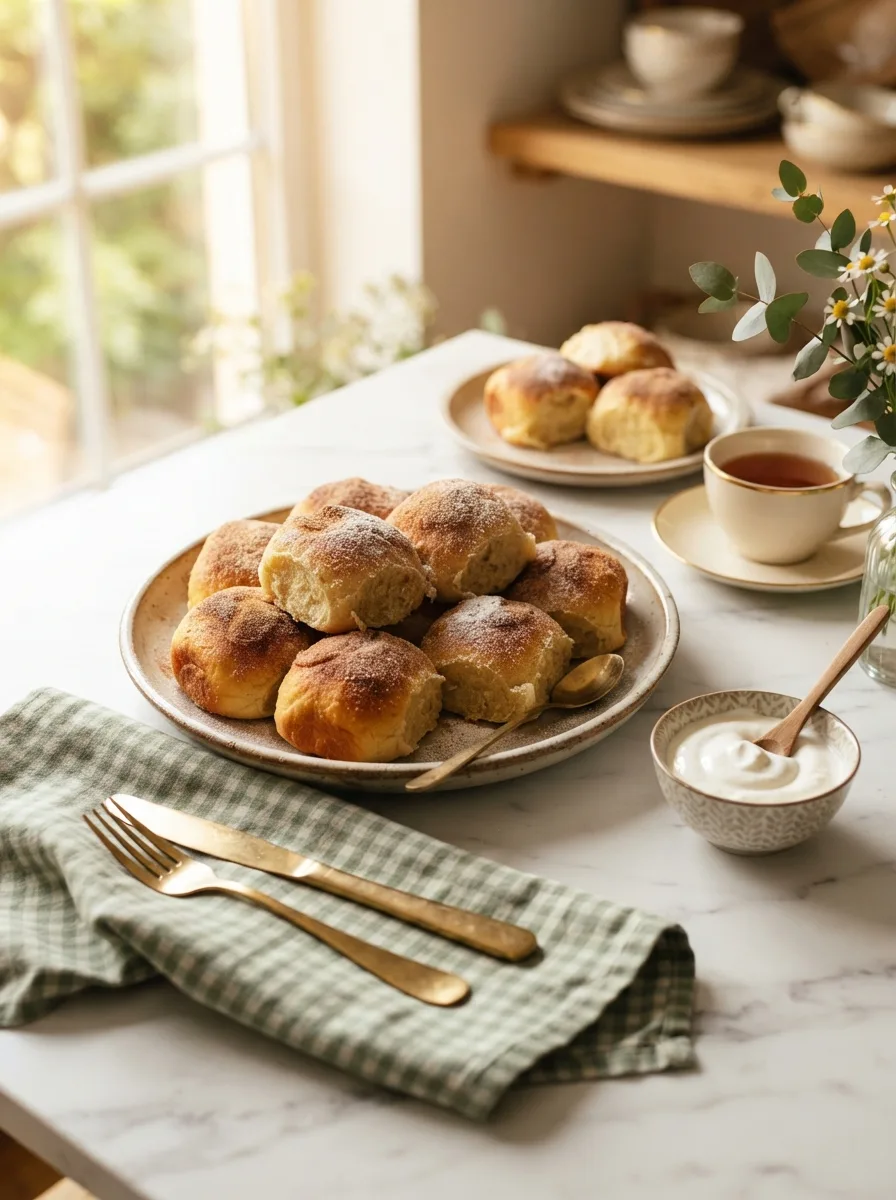
Q: What’s the best way to serve sovitika poyivia? A: Warm, with a spoonful of sour cream on the side. They also hold up well alongside a simple green salad for a light lunch.
Q: Can I make these smaller, like appetizer-size? A: Yes — divide the dough into 20 pieces instead of 12, using about 1 tablespoon of filling each, and reduce the bake time to 15–17 minutes.
Q: My filling tastes bland — what am I missing? A: Salt is usually the fix. Taste the potato mixture before filling the buns and season it more assertively than feels natural — the dough around it mutes the seasoning slightly once baked.
More Recipes You’ll Love
- El Pastor Burrito — a completely different direction, but just as satisfying for a weekend meal
- Wes Canfield Smoked Salmon Recipe — another make-ahead-friendly recipe worth having in rotation
- Chicken Modiga — a rich, savory main that pairs well with a simple side
- Buona Beef Tuna Genovese Copycat Recipe — for when you want something completely different but equally comforting

Sovitika Poyivia Recipe (Soft Potato-Stuffed Buns)
Ingredients
For the dough:
- 31/2 cup all-purpose flour
- 1 packet (2¼ tsp) active dry yeast
- 1 cup (240ml) warm whole milk
- 1/4 cup granulated sugar
- 1 large egg, room temperature
- 4 tablespoon unsalted butter, softened
- 1 teaspoon salt
For the filling:
- 2 pound russet potatoes, peeled and cubed
- 1 cup farmer’s cheese
- 1 large yellow onion, diced
- 3 tablespoon butter, for caramelizing
- 1/4 cup fresh dill, chopped
- Salt and black pepper, to taste
For finishing:
- 1 egg + 1 tablespoon water, for egg wash
- Sour cream, for serving
Instructions
- Warm the milk to about 110°F and stir in the sugar and yeast. Let sit 5–10 minutes until foamy.
- In a stand mixer, combine flour and salt, then add the yeast mixture, egg, and softened butter. Mix until combined.
- Knead on medium speed for 6–8 minutes until smooth and elastic. Shape into a ball, place in an oiled bowl, cover, and let rise 60–90 minutes until doubled.
- While the dough rises, boil the cubed potatoes until fork-tender, about 15 minutes, then drain.
- Caramelize the diced onion in 3 tablespoons of butter over medium-low heat for 15–20 minutes until deeply golden.
- Mash the potatoes, then fold in the caramelized onion, farmer’s cheese, dill, salt, and pepper while still warm.
- Punch down the dough and divide into 12 equal pieces. Flatten each into a 4-inch disc.
- Place 2–3 tablespoons of filling in the center of each disc, gather the edges, and pinch tightly closed at the top.
- Place seam-side down on a parchment-lined baking sheet. Cover loosely and let rise 30 minutes.
- Preheat oven to 375°F. Brush each bun generously with egg wash.
- Bake for 22–25 minutes until golden brown and the bottoms sound hollow when tapped.
- Cool on the pan for 5 minutes before transferring to a rack. Serve warm with sour cream.
Notes
- Weigh your flour (440g) if possible — scooping directly from the bag can pack in extra flour and lead to a denser dough.
- Let the filling cool slightly before sealing the buns; scalding-hot filling can partially cook the dough at the seam.
- Buns freeze well after baking — cool completely, freeze in a sealed bag up to 2 months, and reheat at 325°F straight from frozen, adding about 5 minutes to the time.
- The potato filling can be made up to 2 days ahead and refrigerated; bring it closer to room temperature before filling the dough.